Outline
Start with and outline of your drawing. An outline allows you to lay the image out on paper and ensures everything looks alright before beginning.
I have been drawing horses for many years. I have had many people want to know how I draw them so I decided to show all of the steps on how to draw a horse with charcoal.
Start with and outline of your drawing. An outline allows you to lay the image out on paper and ensures everything looks alright before beginning.
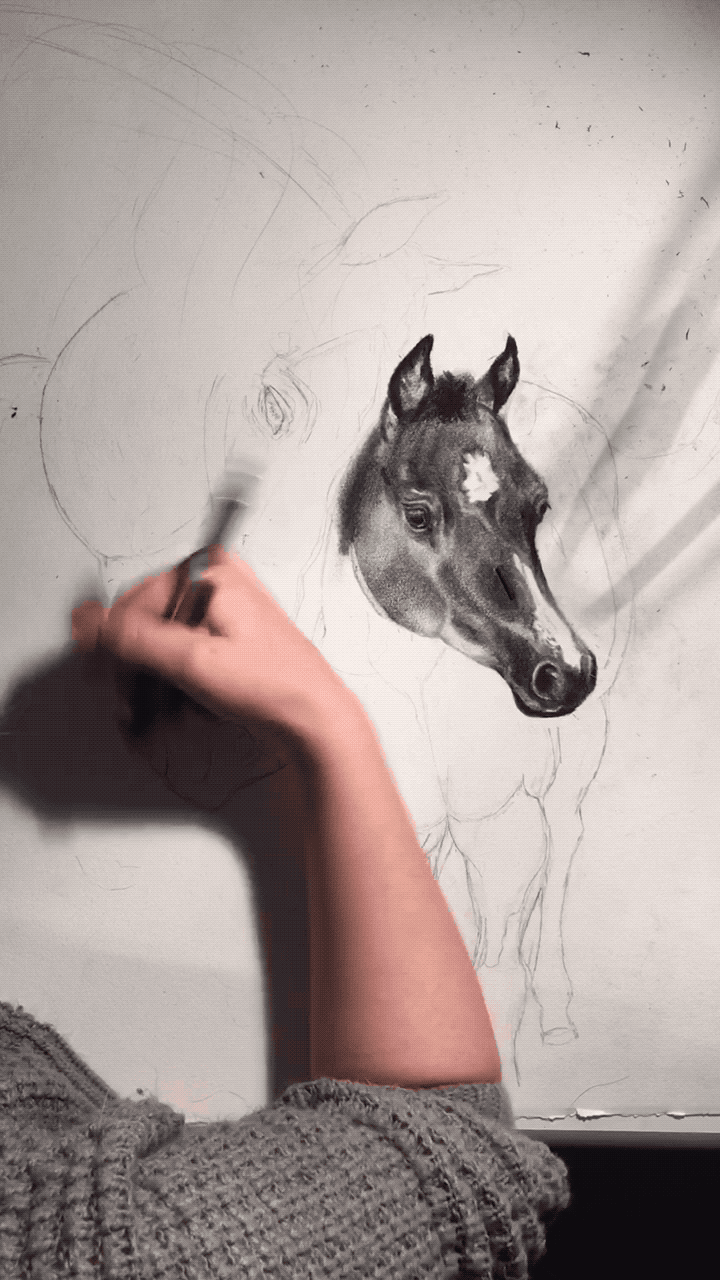
As you can see, I have already started with shading in the foals head. Pick an area to start with and work on.
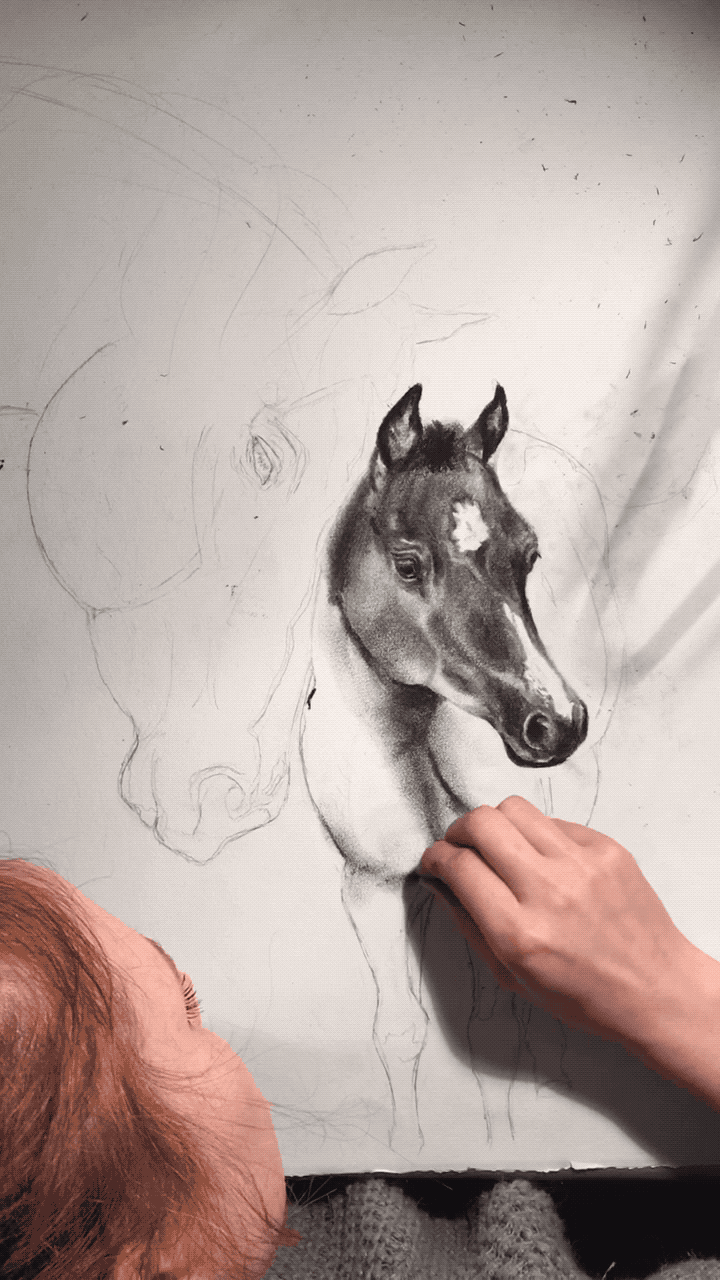
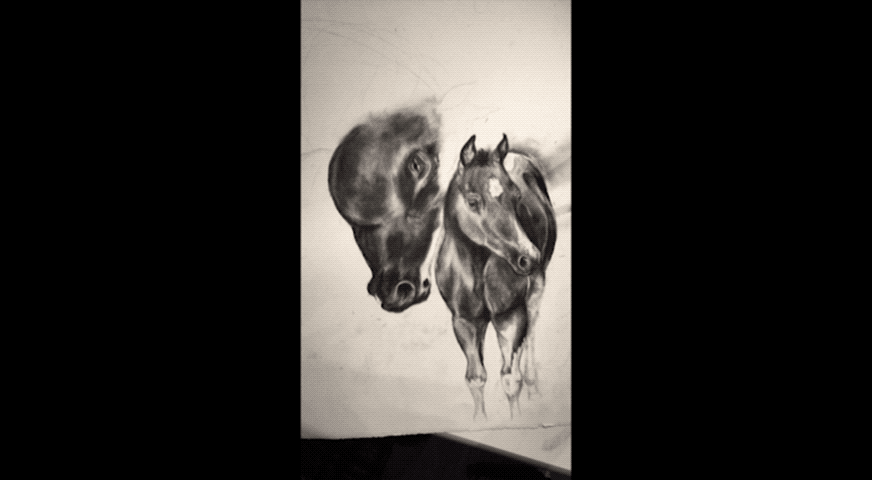
After working on the foals head, I moved on next to the neck and chest.
When you start shading, begin by shading in the darkest areas and then blending them in with your fingers.
Drawing with charcoal consists of a lot of blending, shading, and manipulation of the charcoal.
Add more layers of shading to the chest until you are satisfied with he muscle tones and then move on by repeating this step into the body of the foal.
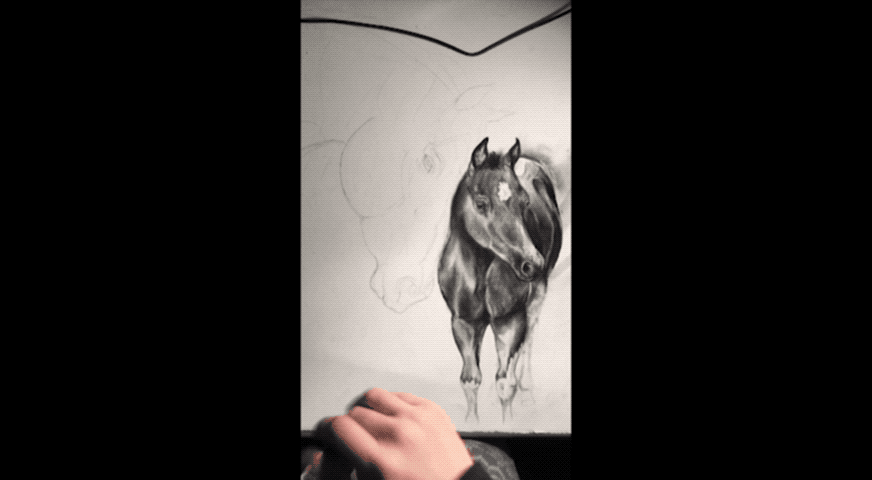
After the foal, I moved on to the mare. I always start with the eyes because in my opinion, they are the hardest to draw. The image above is a good example on how shading looks before and after blending.
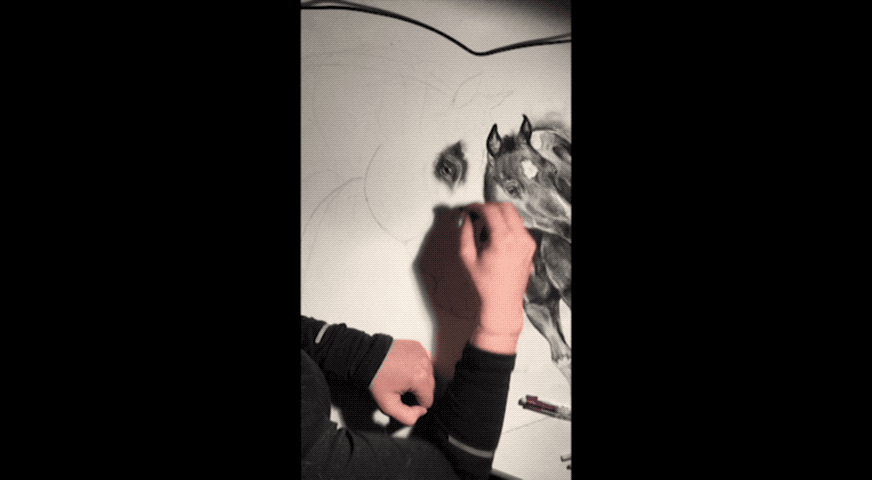
Continue to blend out the dark areas on the mares face.
Besides eyes, hair can also be very difficult to draw. I stared out by sketching out how I wanted the hair to lay on the mares neck. Also while working on this its a good idea to finish shading in the rest of the neck so you dont have to after you've done the hair.

Once the mare and foal are completed, I then go over them again adding in any details that may have been missed or smudged. After I'm satisfied with how they look, I add the background. For this drawing I just lightly shaded in the background and added some depth.