To Do This Week
Activity: Purchase a month membership to RunwayML.Explore the site, see what you can do, but don’t use too many credits. Watch some of the video tutorials.
Read:
- ‘Of course it’s disturbing’: will AI change Hollywood forever?
- Hollywood writers picket in front of Warner Bros. Studios. AP Photo/Marcio Jose Sanchez What are Hollywood actors and writers afraid of? A cinema scholar explains how AI is upending the movie and TV business
Blog Prompt: What are your thoughts on the risks and opportunities of AI Cinema? What do these tools mean for the future of Hollywood entertainment and for independent artists working in the industry?
Notes
Discuss readings and the future of AI Cinema…
Video some of the image series….
About Custom GPTs
GPT store…
Generative Pre-trained Transformers…
Your World-building GPT:
- Personalize Your GPT: Start with the sample statement below and adapt it to reflect the specificities of your world style. Include detailed descriptions under each placeholder to guide the GPT in generating the look that aligns with your vision.
- Configure Your GPT: Dive into your CUSTOM GPT CONFIGURE section to fine-tune the settings and your description to improve output quality. Paste the personalized statement as the opening of your description. Save all of this text somewhere, along with what you just pasted. Experiment with different configurations to see how they affect the generated media and suggestions.
- Iterative Process: World-building is an iterative process. Use the feedback from your generated content to refine your descriptions and settings. This ongoing interaction with your Custom GPT will lead to a more coherent and captivating world.
SAMPLE STATEMENT TO START YOUR GPT:
[[ Copy, paste below into a doc and personalize it.]]
This is a Custom GPT for World-Building, a specialized tool designed to transform my unique world concept into a richly detailed and immersive universe. This GPT aims to serve as a creative assistant, to help me in generating text and images that flesh out the landscapes, characters, and narratives of my envisioned world.
Here is how I want this GPT to help me in my creative process:
- Media Generation for World Building: This GPT is adept at producing text and images that bring my world to life. It follows the essence of my descriptions and asks questions for more clarification.
- Consistency and Interrelation: It offers ideas and suggestions to ensure that every element of the world remains consistent and interconnected.
- Clarification of Visual Language: It helps in defining and maintaining a consistent visual style for the world, guiding me on aspects such as composition, color, texture, style, film stock, lighting, aspect ratio, and resolution to achieve the desired aesthetic and mood.
Consistent Visual Style
SETTING/LOCATION: Example: “Leafy green, glass, transparency everywhere. AI art displayed.”
CHARACTER DRESS: Example: “Wealthy humans are in leisure clothes, distinct from inconspicuous machine workers”
LIGHTING: Example: “High-contrast lighting with deep shadows for dramatic effect, soft ambient light for serene landscapes. Rich hues.”
COLOR: Example: “A palette of cold blues and greys for scenes depicting isolation, vibrant greens and blues for quite moments, reds and oranges for scenes of conflict and passion.”
CAMERA/FILMSTOCK: Example: “Deep colors with a balance of light and shadow, crisp, clean images.”
ASPECT RATIO: Example: “16:9, for 720p HD video.”
STYLE REFERENCE: Example: “Stanley Kubrick, monumental, symmetrical compositions.”
Here is my world idea:
[[ Your Concise 300-500 word World Description ]]
After Testing:
Aetheria is specifically designed to generate images and text for a world-building project, with a strong emphasis on showcasing a future where humans are at leisure and machines do the work. It creates content that reflects richly detailed compositions reminiscent of Stanley Kubrick’s cinematic style, focusing on realistic, photographic-quality visuals in a 16:9 aspect ratio. Aetheria is committed to closely adhering to the user’s world descriptions, ensuring each creation captures the essence of leisurely human life amidst industrious machines. It is programmed to ask clarifying questions to accurately understand and execute the user’s vision, especially when the desired visual style or scene details are not immediately clear, ensuring the generated content aligns with the intricate details of the user’s envisioned world.
AI Tools:
AI Shorts
OpenAI getting into text-to-video is going to make things VERY interesting
These videos were generated directly by Sora, no modifications
Quality seems high, but more impressive is that it understands how things exist in the physical world, so the motion is super realistic… pic.twitter.com/HfxQgWIzRF
— Nick St. Pierre (@nickfloats) February 15, 2024
Generating Shot List/Storyboarding Ideas:
Instructions for ChatGPT:
You are an expert in movies, filmmaking and visual storytelling. You are able to break down a written story or text into its visual parts, each part described in under 320 characters so that an AI image or video generator would be able to create visual images of the original written story.
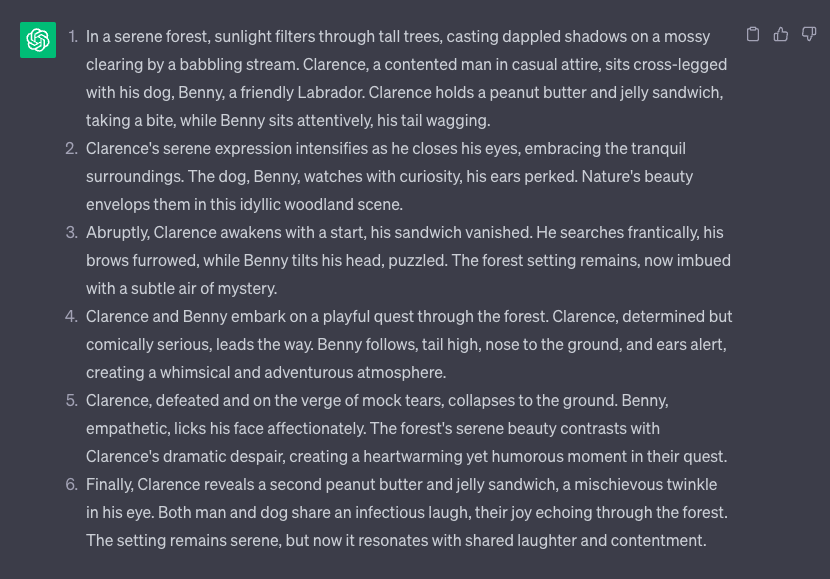
I want you to help me create prompts for an AI image generation tool. I want to generate 5 images to help me visualize my story. I will write my story summary below and you will come up with 5 images to visualize key moments in my story. Provide ONLY a single-paragraph shot description for each moment to convey the setting, characters, situation, style, mood – explicitly. Do not write headings or titles to each shot. Just paragraphs.
For each shot description, repeat the description of the setting and/or the character(s), regardless if the same details were in the previous shot. Do not assume shot details are carried over from one shot to another. Don’t refer to a previous setting or character. , Describe the whole image again from scratch.
Here is my story:
“In a serene forest by a babbling stream is Clarence and his dog, Benny. Clarence enjoys his peanut butter and jelly sandwich while Benny watches. Clarence closes his eyes to savor nature’s beauty. The dog watches as the man wakes up. Where is his sandwich? Clarence and Benny embark on a playful quest to find the missing sandwich. Then Clarence collapses in mock tears as Benny licks his face. Eventually, Clarence reveals a second sandwich, and they both shared a laugh and a bark.”
Rework the results for each shot by using the same descriptive language for setting and character. Specify lighting, genres, filmstock, director styles:
STYLE REFERENCES:
Camera & Film Types
- “Camcorder” – film grain, noise, and saturation, reminiscent of VHS tape
- “DSLR” – superior resolution, sharpness, and clarity
- “GoPro” or “GoPro Video” – fish-eye effect, often in the form of a selfie
- “Disposable Camera” – a fixed-focus 35mm lens
- “Polaroid” – high black point and faded effects
- “Fujifilm Superia” – High-performance, high-speed color negative film with fine-grain
- “Instax” – Daylight color film with a high gloss finish
- “Kodak Ektar” – retro hues or poppy contrast
- “Kodak Gold 200” – crisp and clear results for bright, sunny days
- “Kodak Portra” – vivid colors, light, and textures in a crisp format
- “Velvia” – High-saturation film [
- “Lomo” – oversaturated, high-contrast look with a soft blur
- “CinemaScope” – old filming technique known for its 2.35:1 aspect ratio
- “Kodak 400TX” or “Tri-X 400TX” – fine-grain black and white images
- “VistaVision” – high-resolution widescreen format using 35mm film
- “Technirama” – double the resolution of anamorphic 35mm film
- “Tintype” – direct positive images on thin metal coated with dark lacquer or enamel
- “Calotype” or “Talbotype” – paper coated with silver iodide, vintage look.
- “Ambrotype” – underexposed glass negatives placed against a dark background
- “Daguerreotype” – highly detailed images on a sheet of copper plated with a thin coat of silver without using a negative
Camera Angles:
- Eye-level: A neutral camera angle at the subject’s eye level, providing a natural perspective.
- Low-angle: Looks up at the subject from below, emphasizing dominance or power.
- High-angle: Looks down at the subject from above, making the subject appear smaller or less significant.
- Dutch angle (or canted angle or tilted angle): The camera is intentionally tilted to create disorientation or unease.
- Overhead: Looks directly down on the subject from above, offering a unique perspective.
- Bird’s-eye view: Captures scenes from a high vantage point, providing scale and context.
- Drone view: An aerial angle achieved using a drone.
- Worm’s-eye view: Looks up at the subject from ground level, creating a dramatic perspective.
- Ground-level view: Captures the subject from near the ground, often neutral in perspective.
- Side view: Captures the subject from the side, achieved through various camera angles.
- Off-center view: The subject is not centered, creating a dynamic composition.
Shot Types:
- Close-up (closeup or CU): Focuses on a subject’s face or detail to emphasize emotion or importance.
- Extreme close-up: Tightly frames a small detail or feature, highlighting its significance.
- Wide shot: Shows the entire subject within its environment for context.
- Extreme wide shot: Captures a large area to establish a location or set the scene.
- Medium shot: Captures the subject from the waist up, commonly used for dialogue scenes.
- Medium-full shot (American shot): Frames the subject from knees or mid-thighs up.
- Over-the-shoulder shot: Looks over one subject’s shoulder toward another, enhancing depth in dialogue scenes.
Lighting Styles
- Natural Light: The use of available light sources, such as sunlight or ambient indoor lighting, to illuminate a scene. Often used for a realistic and unobtrusive look.
- Key Light: The primary and most intense source of light in a scene. It provides the main illumination on the subject and establishes the direction of the light.
- Fill Light: A secondary light source used to reduce shadows created by the key light. It fills in the shadows without creating additional strong highlights.
- Backlight: Placed behind the subject, the backlight separates the subject from the background and creates a rim of light around the subject, adding depth and dimension.
- Rim Light: Similar to backlighting, it’s positioned to create a thin line of light along the subject’s edges, emphasizing their outline and separating them from the background.
- Top Light: Light that comes from above the subject, casting shadows downward. It can create a dramatic or mysterious look.
- Side Light: Positioned to the side of the subject, it creates shadows that add depth and texture. Commonly used for film noir and dramatic scenes.
- High Key Lighting: A style that uses bright, even lighting to minimize shadows and create a cheerful or upbeat atmosphere.
- Low Key Lighting: Characterized by strong contrasts between light and dark areas, often used for dramatic or suspenseful scenes.
- Rembrandt Lighting: Named after the Dutch painter Rembrandt, it features a key light placed at a 45-degree angle to the subject, creating a triangle-shaped highlight on the cheek opposite the light.
- Three-Point Lighting: A standard lighting setup that includes a key light, fill light, and backlight, providing control over shadows and highlights.
- Chiaroscuro: An artistic lighting style that uses strong contrasts between light and dark to create a visually striking and dramatic effect.
- Practical Lighting: Incorporating actual light sources within the scene, such as lamps, candles, or practical fixtures, to create a natural and realistic look.
- Candlelight: Emulates the soft, warm glow of candlelight, often used for romantic or intimate scenes.
- Silhouette: Lighting the subject from behind, completely darkening their features and creating a distinct outline against a brighter background.
- Soft Lighting: Achieved by diffusing the light source, resulting in soft, gentle shadows and a flattering, even complexion.
- Hard Lighting: Uses direct and unfiltered light sources, creating sharp, well-defined shadows and a more intense look.
- Bounce Light: Reflecting light off surfaces, such as white boards or walls, to soften and redirect the illumination.
- Practical Effects: Using real-world light sources and techniques to achieve specific lighting effects, like flickering flames or dappled sunlight.
- Stylized Lighting: Employing unconventional or artistic lighting techniques to create a unique visual atmosphere, often seen in experimental or avant-garde filmmaking.
Generating Production Design: locations, sets, costume, cinematography style
At this stage, you are just trying to work at setting, costume, lighting and cinema styles. Edit the shot descriptions to better refine your vision of the story to prepare for your image or video prompts. Be as descriptive as you can. Then use an image generator – Dall-e, RunwayML’s image generator. Midjourney has some special features:
Use Midjourney to refine the look of your images
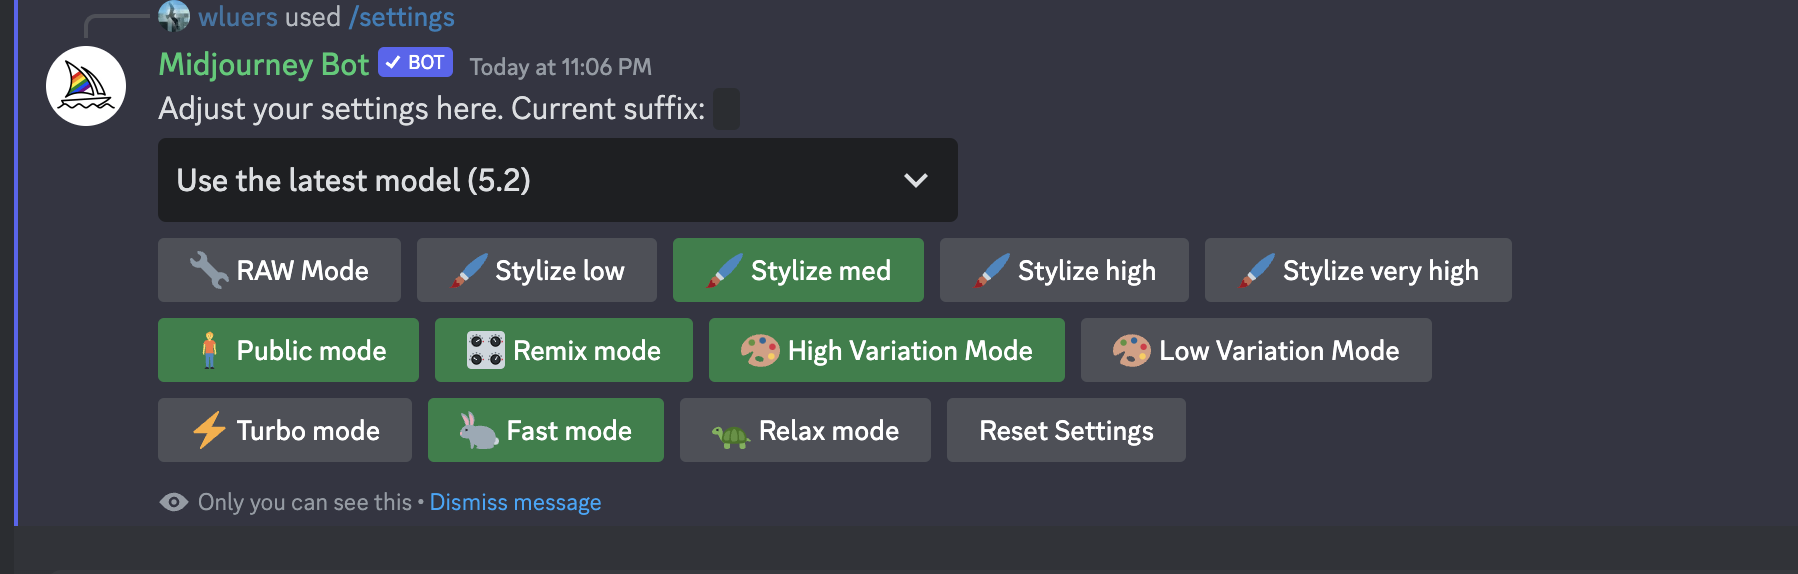
- Midjourney: create a custom option – /prefer option set :
cinematic:--ar 16:9 --stylize 150 --weird 25 --style raw - Midjourney: add parameters to your option:
--stylize 150 --weird 25 --style raw - capture seed numbers for continuous look
- keep creating variations until you are happy with the result
- upscale the images you like, create variations with added prompts until you get what you are looking for
- use the setting “zoom out” on images if you need more of the setting or a wider shot.
- you can also combine your own image with another image created with another prompt /blend
- you can also add more description to any image to get more variation. Turn on Remix Mode in /settings
Generating Characters
Midjourney
To build images of characters, play with /blend and /describe. Zoom out for wider shots of the body and the setting. Use

Reverse engineer the image and get descriptive text for use in the video generator. This will come in handy if the images aren’t working well.
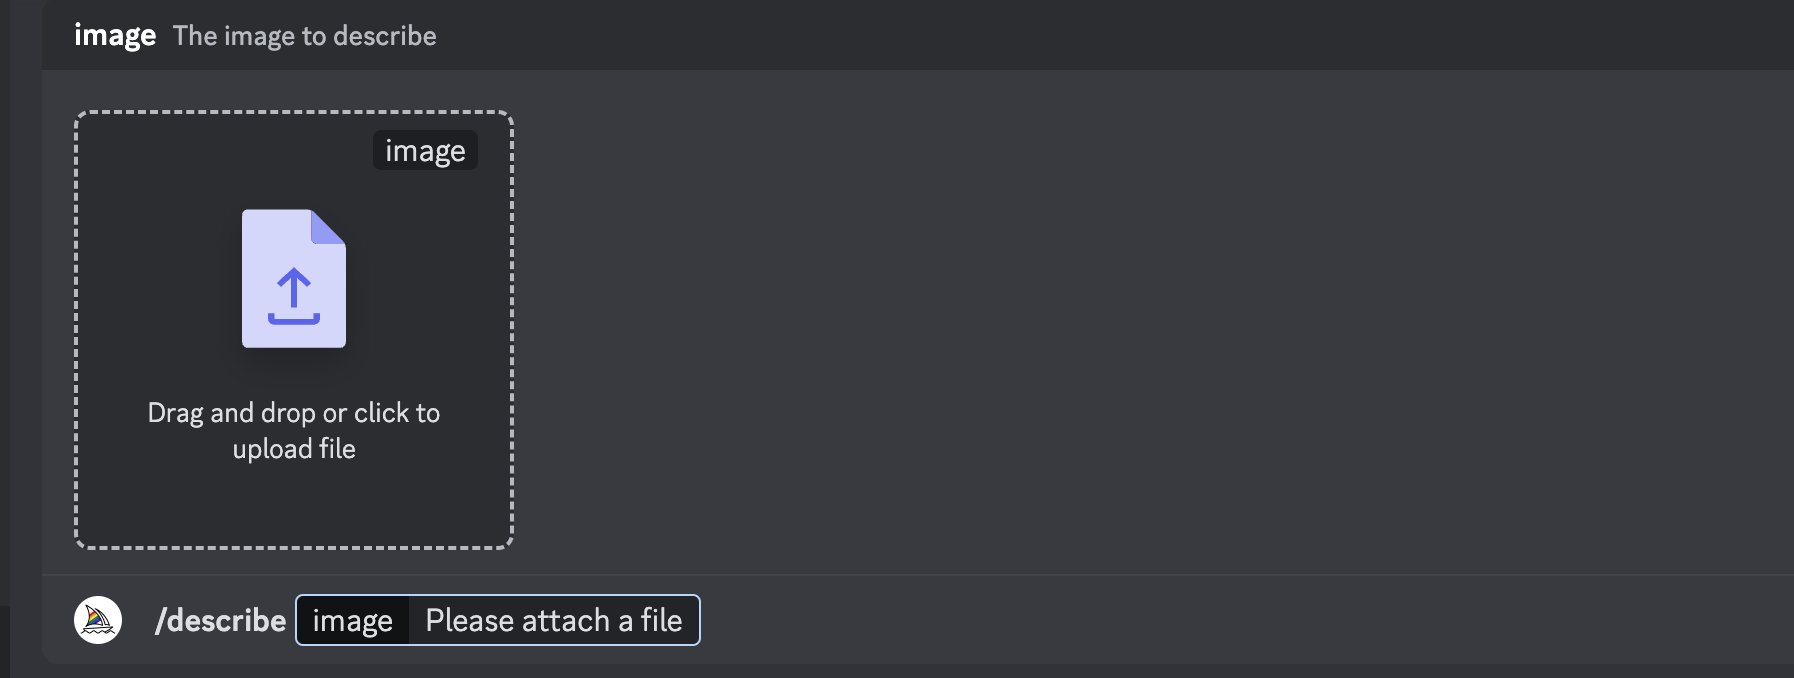
/describe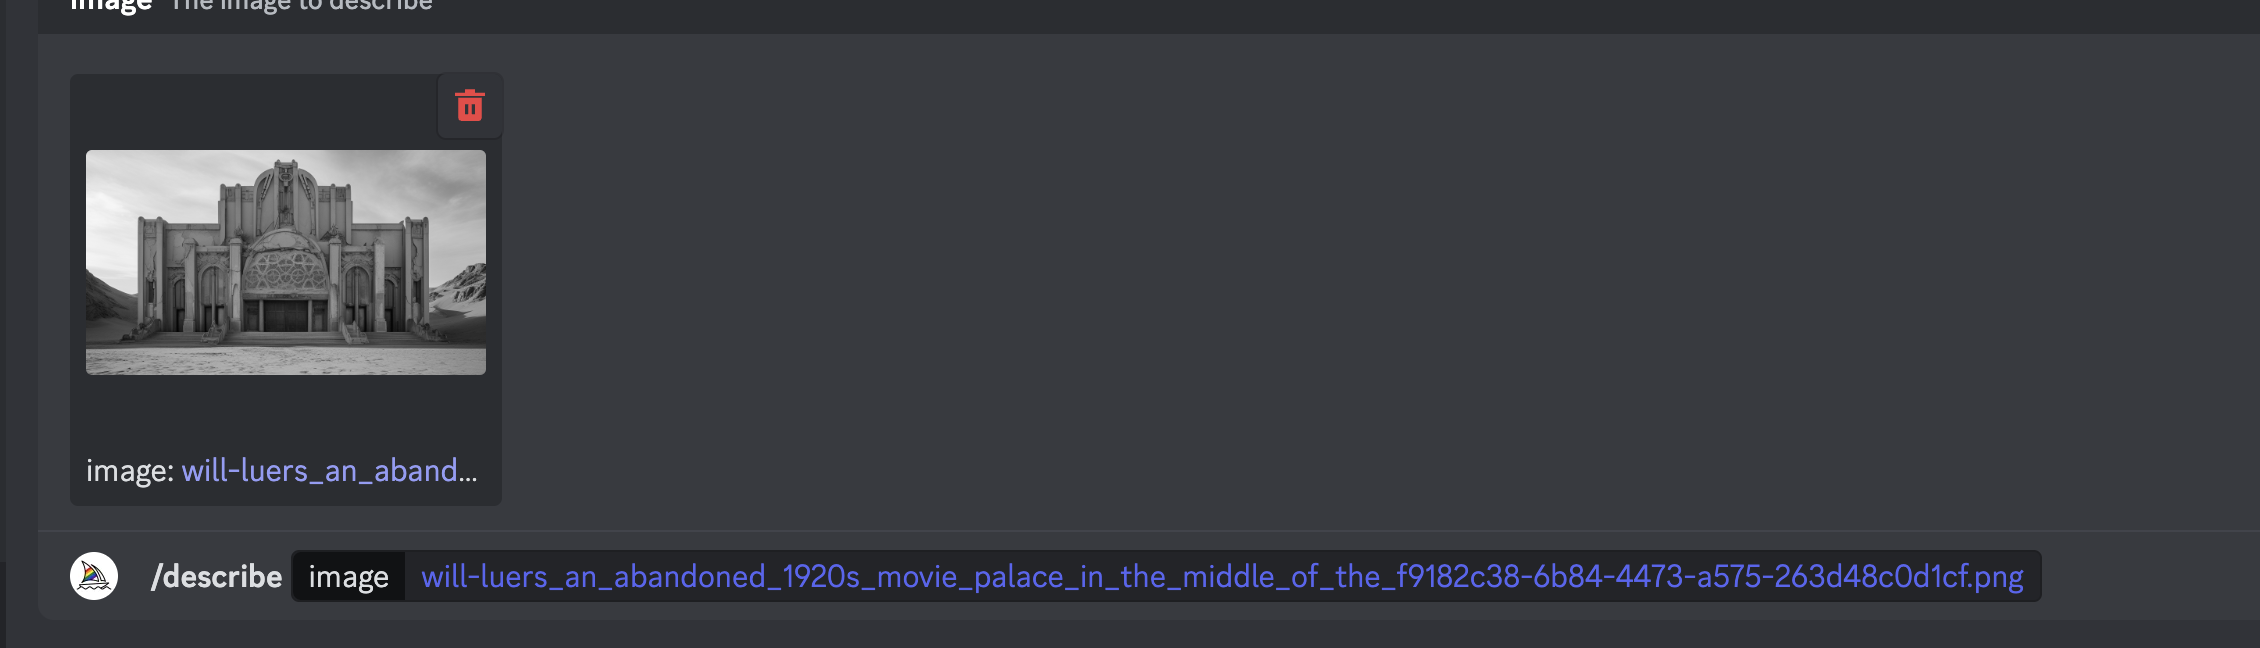

Generating Video Clips
Open RunwayML
You can do many things with this AI video tool: easy green screen, slow motion, frame interpolation, remove objects in the frame. Generate video from other videos and prompts. Gen-1 can generate video by mixing a video and an image. Gen 2 can generate video from a prompt, an image or from an image and a prompt.
You create 4 seconds clips and can extend a single clip to up to 18 seconds.
Gen-2 Tutorials:
Extend Generations in Gen-2
Gen-2 Modes
Gen-2 Workflow w/ AI Magic Tools
Gen-2 Basics
Edit Video
Import your generated video clips into Adobe Premiere and start putting it together.
Try ElevenLabs for AI generated voices.
AI sound design?
Activities:
- Draw on world-building images to create videos
- animation/video 5%
Visual #3: Animation/Video (5%)
DUE: March 1st (two weeks)
Project Overview”
In this project, you will use Generative AI video and audio tools to build a short sequence from your fictional world. This visual narrative will delve into a pivotal moment or a simple story arc within your unique world, emphasizing the depth, consistency, and creativity of your world-building endeavors. Through the integration of characters, environments, and key elements from your AI-generated worlds, you will produce a cohesive video demonstrating visual storytelling skills but also unveils intricate details about the culture, technology, and ecosystems of your imagined reality.
Project Objectives:
- Consistency and Cohesion: Ensure visual, thematic, and auditory consistency throughout your video to make your world feel unified and immersive.
- Detail and Depth: Utilize video clips and sound to accentuate the unique aspects of your world, including cultural, technological, and ecological dimensions.
- Character Integration: Feature characters from your world, highlighting their roles, relationships, and interactions within the narrative.
- Storytelling: The video should unfold a visual narrative with sound, music, narration and or character voices. No need for developed plot, just a narrative moment, with a distinct beginning, middle, and end.
Project Requirements:
- World-Building Foundation: Base your video on the world you’ve developed using your World-Building GPT from the previous week.
- Video Sequence: Edit a short (20-60 second) video that narrates a story or depicts a significant moment in your world. Use Adobe Premiere to edit, but see me if you have no video editing experience. You can compile the clips in a Google Slide show if necessary.
- Format Consistency: Maintain a single video format (16:9, 720p is best) and aesthetic throughout, including consistent video quality and editing style.
- Build a Soundtrack: Use any number of AI audio tools to build a soundtrack, sound effects and or voices for your short.
- Visual and Auditory Consistency: Ensure all video clips and soundtracks adhere to the defined aesthetic, style, and mood of your world.
- Upload to Youtube: Upload the completed video sequence to Youtube and then paste the URL on its own line in a blog post. It should turn into a player.
- Reflective Statement: Compose a brief reflection to accompany your video (in the blog post), discussing your creative process, the challenges of maintaining consistency, and how you utilized AI tools to generate, refine, and audibly enhance your world and its narrative.
Steps to Completion
- World-Building Review: Refine the characteristics, inhabitants, and themes of your world in the Configure section of your World GPT.
- Narrative Outline: Draft a storyline or select a moment that exemplifies a critical aspect of your world. Outline key scenes to be included in your video.
- Character Selection: Identify characters from your world to feature in the narrative. Detail their appearance, traits, and significance to the story.
- Video and Audio Creation: Use Generative AI tools such as RunwayML for video creation and Stability Audio for sound design to produce visuals and soundtracks for each scene. Focus on maintaining the world’s aesthetic consistency and the unique features that highlight its distinctiveness.
- Video Assembly: Edit the clips in a logical sequence that effectively narrates your story or moment. Consider adding spoken audio for character or narrator voices to guide the audience.
- Presentation and Review: Share your Youtube video with the class in a blog post, providing insights into your creative process and the application of AI in achieving your vision.
Evaluation Criteria:
- Creativity and Originality: The inventiveness and imaginative aspects of your world and its visual, narrative, and auditory presentation.
- Consistency and Detail: The extent to which your video maintains the world’s features consistently and reveals its depth through details.
- Narrative Integration: The effectiveness of your characters, scenes, and sound in conveying a compelling story or moment within your world.
- Use of AI Tools: Your proficiency in leveraging AI for world-building, video creation, and sound design, including how these tools influenced your creative decisions.
- Reflective Insight: The depth of your reflection on the project’s process, the challenges faced, and your development as a creator.