This week we dive into the fundamental building blocks of web. We will get setup with
our class tools and students will begin to look "under the hood" of a website:
identifying its components, reading HTML, and editing existing HTML.
Content
Meet your professor
Slack
You should have all been invited to our class Slack channel. First download Slack and
sign-up with your WSU email. Once open and logged in, look at the sidebar to find your
class channels.
For your profile, please use your whole name so we (I) know who you are. You can ensure
your display name is showing correctly. Please also attach a profile picture. Slack will
be our place for general discussion, class announcements, material distribution, answering
questions, and sharing of
information.
In the class Slack channel please introduce yourself. Include:
your name
your major
your background and interest (if any) in web design and development (HTML, CSS, Figma,
Adobe software)
a photo of a beloved pet or animal that you think is really cool
Software for this course
VS Code — This is
a free text editor that will allow you to write and
edit code. There are many text editors out there, but for this course we will be using VS
Code.
CyberDuck — This is a
free FTP client that will allow you to upload
your website files to a server. There are many FTP clients out there, but for this course
we will be using CyberDuck.
GitHub —
This is a platform for providing version control and allows developers to store, manage,
and share their code, as well as provides tools for collaboration. Please sign
up for a GitHub account and share the email address and GitHub username in the
class Slack channel before class on Thursday 8/21.
GitHub Desktop —
This is a
free application that provides an easy GUI when using the version control system Git and
GitHub for managing code-based projects. It is critical for collaborative web projects.
Figma —
Figma is the industry standard design and prototyping tool for the web and beyond. There
are free accounts, but you will need a verified education account for this class. Begin
this verification process now to avoid issues in the coming weeks.
The computers in VMMC 111 (our classroom) will already have the software required for
this class installed. If you plan to use your own computer, you will need to download
and install them.
Opening a project in VS Code
When using VS Code, you will want to open projects by the folder and not by individual
files. This will allow you to 1) edit your entire website together and 2) make use of
beneficial plugins, which we will do in week two.
Open VS Code
Go to File > Open Folder
Navigate to your project folder
You can now open files in your project folder from the left-side 'Explorer' panel
Browser dev tools
Please use Chrome or Firefox for this class (Safari is notorious for needing additional
consideration for web development)
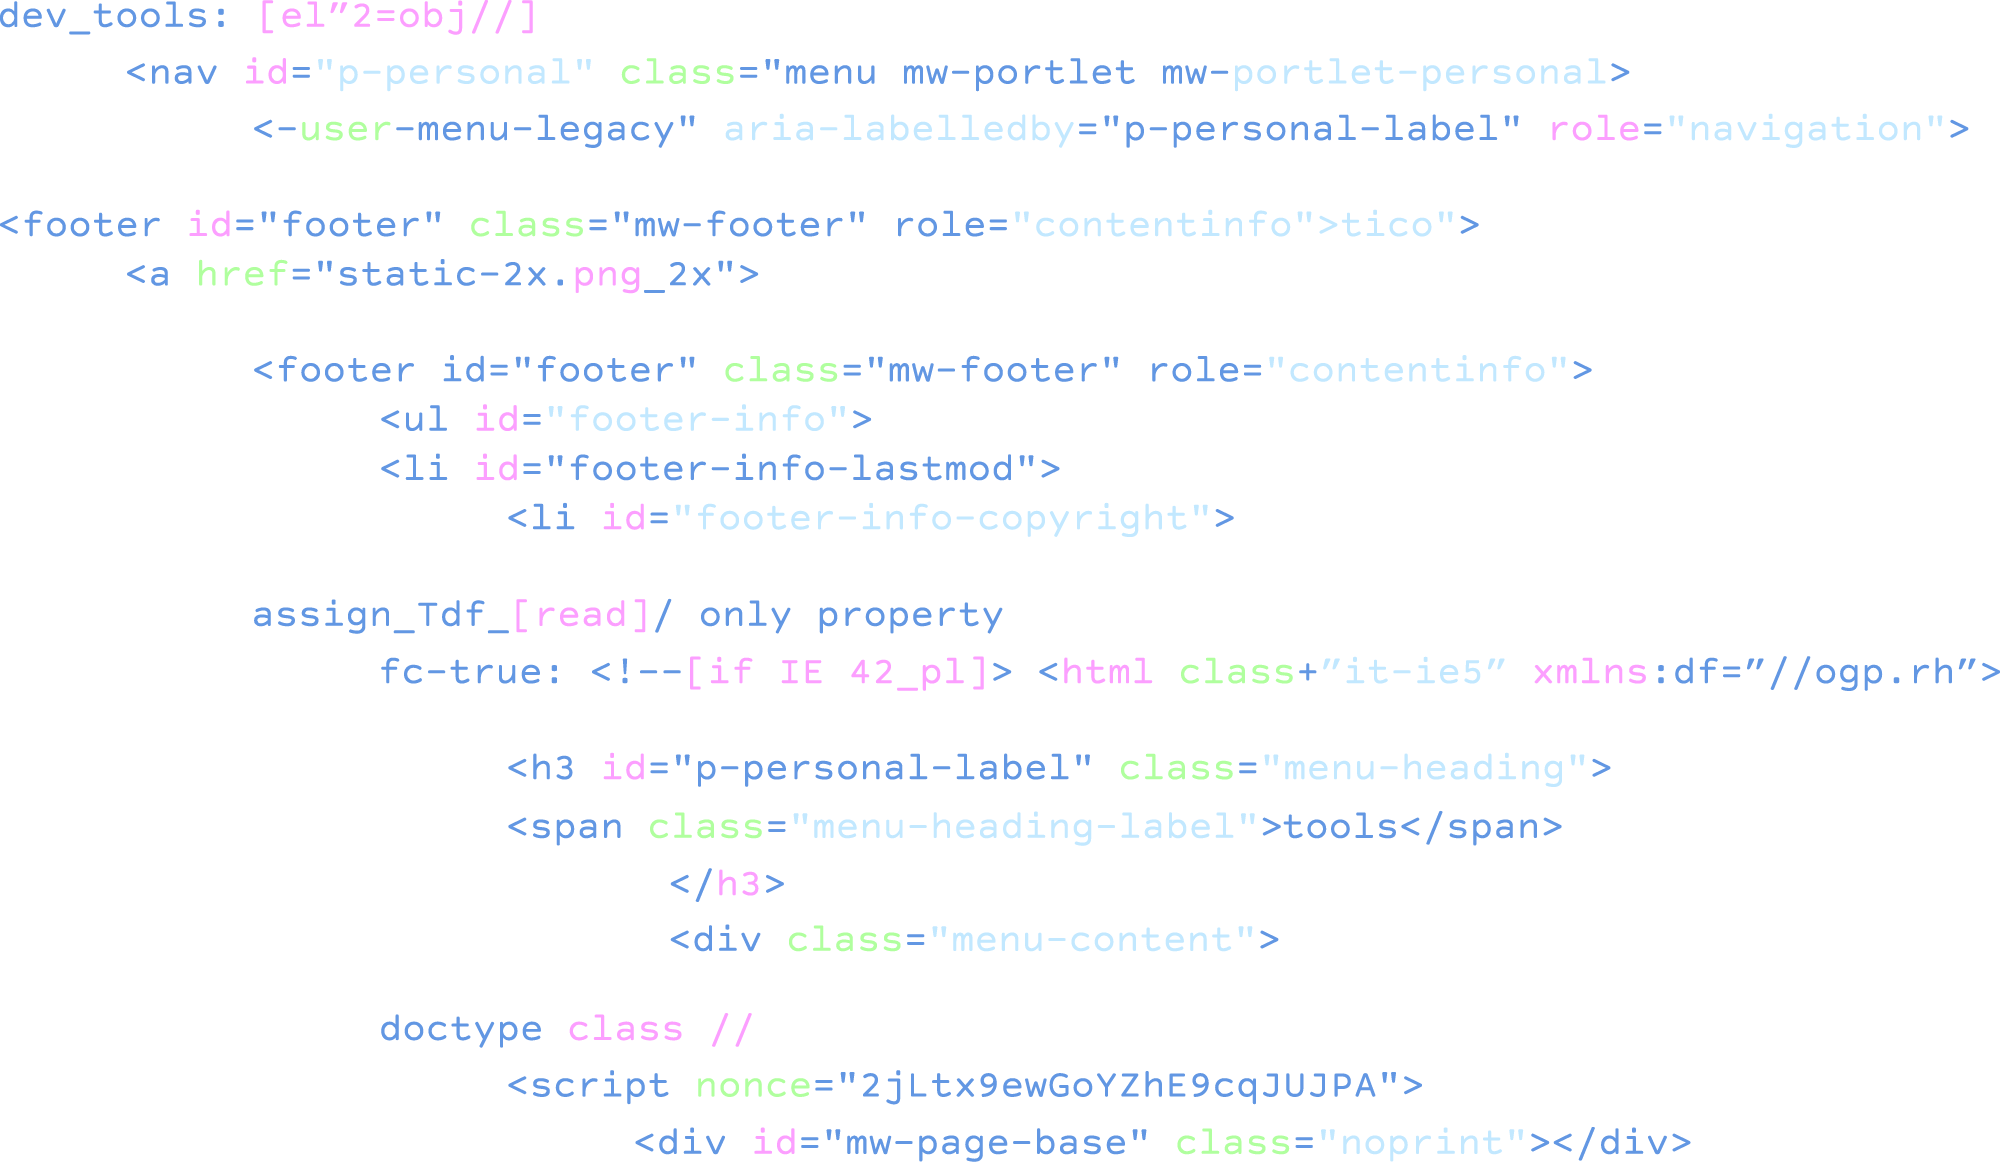
Getting to the browser source code: Right click + Select 'View page source' or on
Mac— Command+Option+U; Windows— Control+U
Right click a portion of a web page + Select 'Inspect' to open the Inspect panel
File and folder names should not have upper case letters, empty spaces or characters such as
*, ! and #. These sometimes have meanings at the server end. On the server, empty spaces
in file names get replaced by the code “%20.” Use dashes or underscores to separate words.
Servers are also sensitive to cases of the letters of file and folder names. You have to
be consistent with upper and lower cases. For example, a link to a file called
“my-image.PNG” that uses “my-image.png” in the HTML link, will only work on your own
computer. When it is on the server and live online, this link will be broken. It is
best practice to
always use lower case in file and folder names.
Organizing Files
Go to mini-project-1. This is a very simple HTML page
called “index.html” inside a folder called “mini-project-1”.” Look at the url, notice
how the path expresses that structure…except there is no “index.html” in the url. This is
because the file name “index.html” tells the server to deliver this as the default home
page if a file is not named in the url, after the folder name. Try adding “index.html” to
the end of the live url to see what happens. Nothing. This is because the index.html in
the url path is not necessary, you don't need it when gong to a site. That is why you can
visit a link such as vancouver.wsu.edu without naming any HTML file at end. It is
“index.html” as the default. We will start all projects in this class by starting with
naming the file “index.html”, as this will be the home page or the only page. Of course,
you can name HTML files whatever you want (just make it lower case and with no spaces),
but your homepage or landing page will always be index.html. A multi-page website will
have other HTML file names beside index.html, such as “page2.html” or
“about.html.”
The mini-project-1 project also has an image. This image file must be located in the same
folder as the HTML page(s). All files — HTML files, CSS files, audio and video files
and JavaScript files — everything related to a web project is gathered in the same
project folder. This is very important. It is common to put web images inside a folder
called
“img”. Right click on the image and select 'Open image in new tab'. Now look at the url.
Notice
that it ends with “img/padme-anakin-meme.” This is the path inside the img
folder to the image file.
Now, follow a link that will download a zip of this mini-project-1 folder:
mini-project-1.zip
Open the zip file is downloaded, extract the files and open VS Code. Open the
“mini-project-1” folder FROM
VS Code. You should see the img folder and the index.html in the side panel of the
text editor. Remember to open project folder from VS Code in order to see all your
files.