1. Remove all wax/debris from toilet flange. Inspect toilet flange
for any damage or missing screws that attach it to the floor. Replace flange if damage is found.
NOTE: If reinstalling a used toilet make sure and use a pack of water absorbing crystals such as Oatey (not included) or any other brand. Follow dicrection on packaging. This helps with preventing water from leaking onto wick during installation.
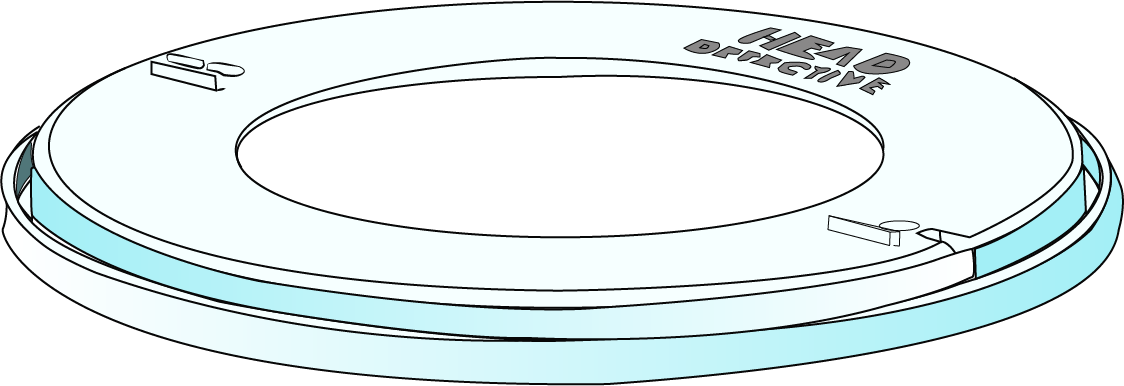
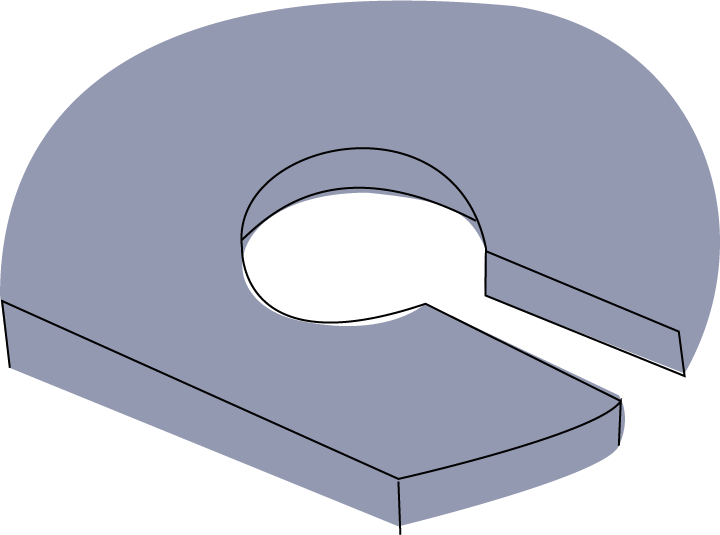
2. Install (Item A) flange bolts to toilet flange. Place deflection plate over flange bolts making sure to press down on deflection plate to seat the gasket onto toilet flange.
3. Place (Item B) Deflection Gasket (remove backing tape) on bottom side of (Item C) Deflection Plate making sure to align holes of gasket to holes of deflection plate.
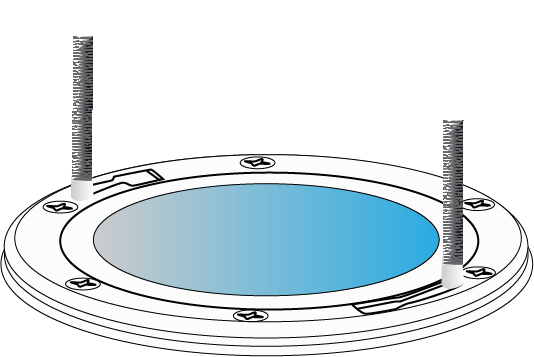
4. Add a flat (Item D) Washer (provided) to each flange bolt making sure slit is pointed to the outside of the deflection plate with flat side of the washer up against raised line on the deflection plate. Install (Item E) Nut (provided) to each flange bolt and tighten.
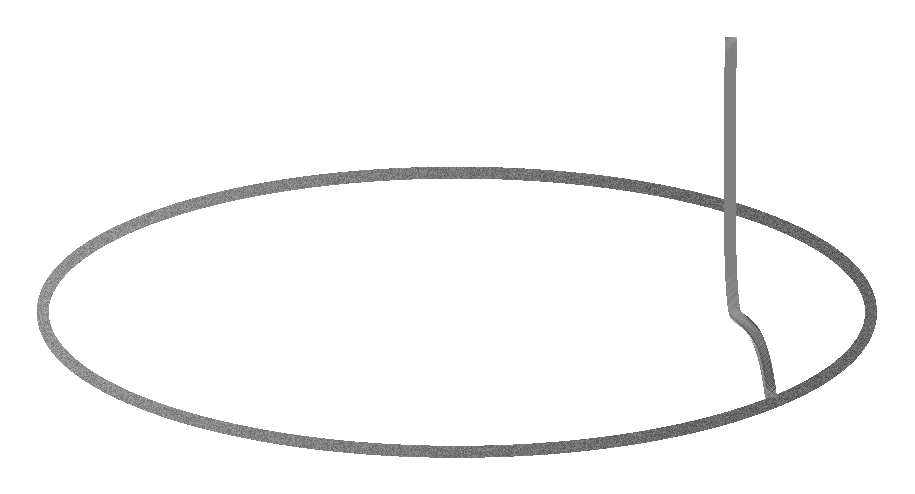
5. Place the (Item F) Wick (provided) into the channel starting at the side you want to mount the electronic detection system to be on. Use a screwdriver to press the wick down into the channel.
NOTE: Preferably the side between the toilet and the sink!!!
6. With the wick installed, take(Item G) Zip Tie (included) and secure the wick to the base of the flange bolt, trim excess when done. Take remaining wick and secure to the top of the flange bolt with (Item H) Bread Tie (included) making sure to point remaining tie upwards of flange bolt. This is used to align and hold wick in place while lowering toilet into place. Place wax ring (not included) onto base of toilet. Carefully align over flange bolts and lower toilet onto toilet flange, making sure to press downwards onto toilet while doing so.
7. With toilet in place, remove the tape from (Item I) Cap Gasket (provided) align holes of (Item J) Cap Base and gasket hole and apply. Remove tape from bottom side of gasket and place over the flange bolt making sure to align hole of cap base over hole with flange bolt then apply pressure making sure cap base is firmly in place. Remove bread tie and discard bread tie. Slide slotted washer (provided) onto flange bolt with slot pointing outwards and flat portion of washer onto raised edge on cap base. Install (Item E) Nut (provided) and tighten nut making sure toilet is snug to the floor. Use caution when tightening to prevent damage to toilet.
8. Mark flange bolt 1/2" above nut and carefully cut excess flange bolt.
NOTE: Before removing (Item K) Electronic Board from packaging make sure to ground yourself by touching metal, IE, faucet, or any other metal. This will discharge and static that maybe present, preventing damage to the electronic board.
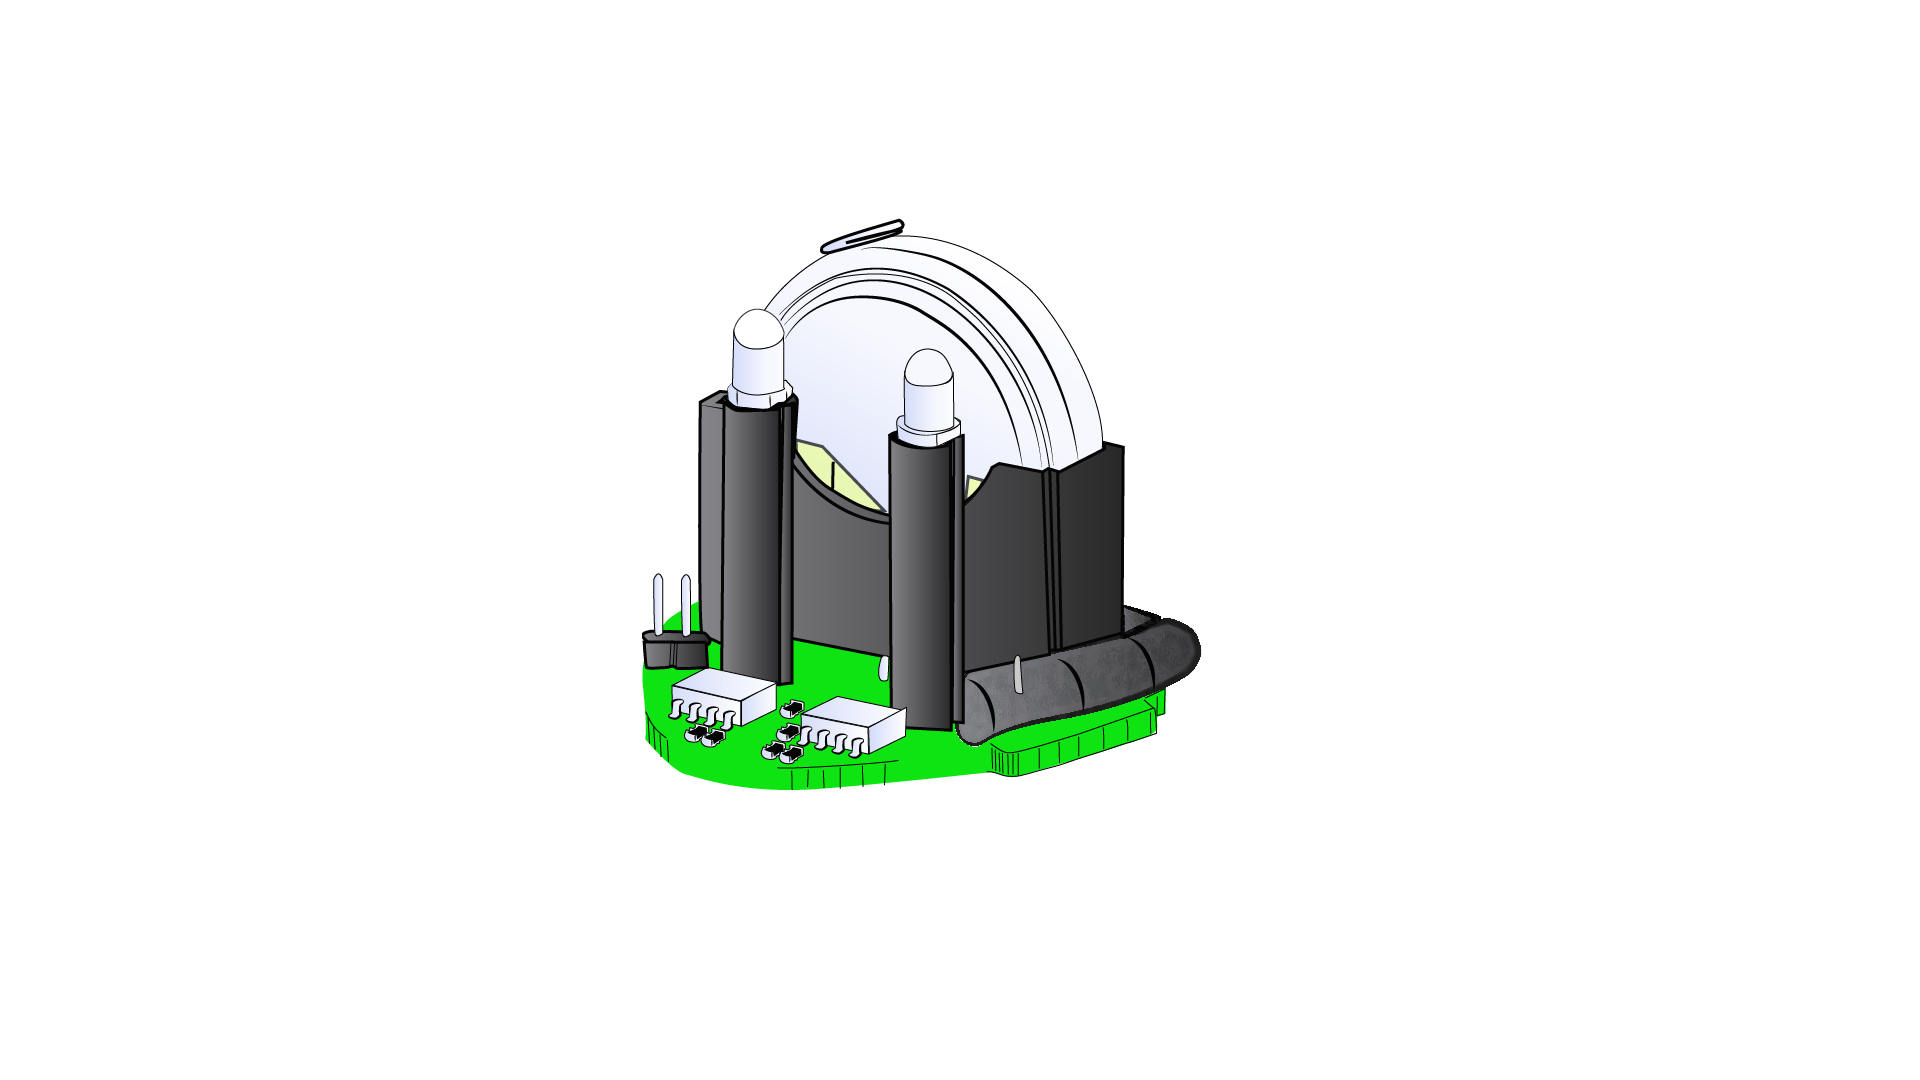
9. Remove electronic board and snap into place, pressing front side of electronic board first then press back side carefully onto cap base. Take wick and lay over the outside pins, mark with a pen, approximately 1/4" past pins. Remove off of pins and cut the wick where marked. Use match to melt end of wick to prevent fraying. Place wick onto pins pressing down slightly to make sure wick holds into place.
10. Install (Item L) Battery (provided) into battery holder making sure plus side of the battery is facing out. Place your finger on either set of pens to make sure unit is functioning correctly.
NOTE: May need to moisten finger while testing. You will see red LED on left side blink as well as hear buzzer sound.
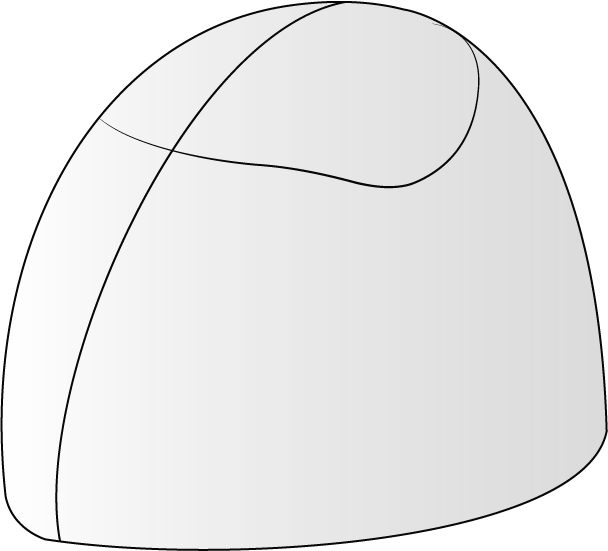
NOTE: If installing new toilet proceed with installing the cap. Making sure it snaps into place. Make sure to caulk between the base of the toilet and flooring.
NOTE: If existing toilet is being reinstalled, do not connect wick until you are confident water did not leak out of the toilet onto wick possibly giving you a false indication of a leak. Once you are assured wick is dry, place wick onto pins and install (Item M) Cap, making sure it snaps into place.