We have now applied an IK rig for our model, meaning animation and generally posing will be made a lot easier. That said, however, animation can still be a difficult and time-consuming process, especially for those that are new to it. Fear not, though. This tutorial will help you through the very basics of animation to get you started.
The process of animation in SFM is largely dependent on how you go about it. You will recall in the posing lesson that I breifly went over two different editors that you can find on the timeline: the motion editor, and the graph editor. These editors, while both capable of animation, both have their own unique animation processes.
It is for this reason that I'm going to split this lesson into two sections, each will explain the process of one of the two editors and how you animate with them. This way you can choose which editor will be the simplest for you when animating.
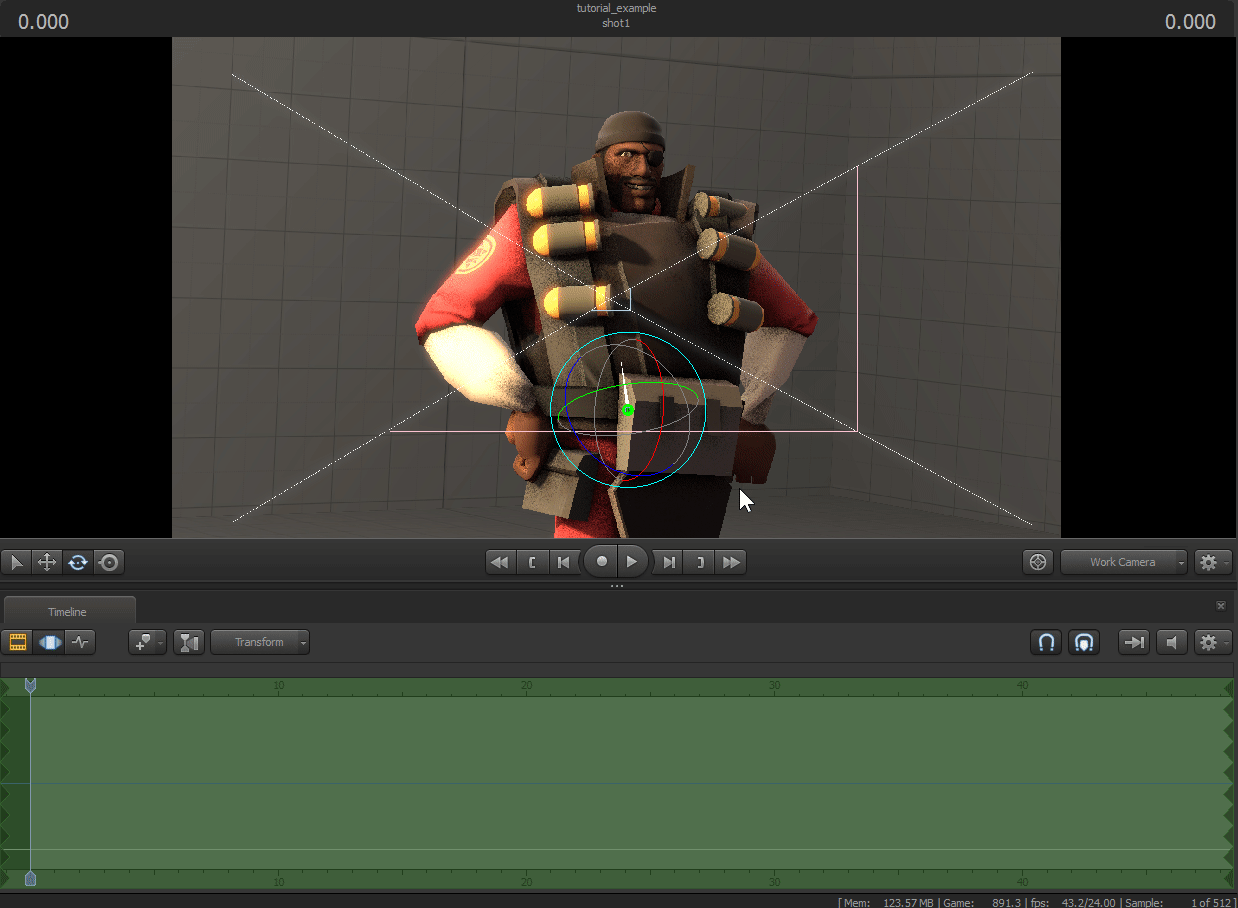
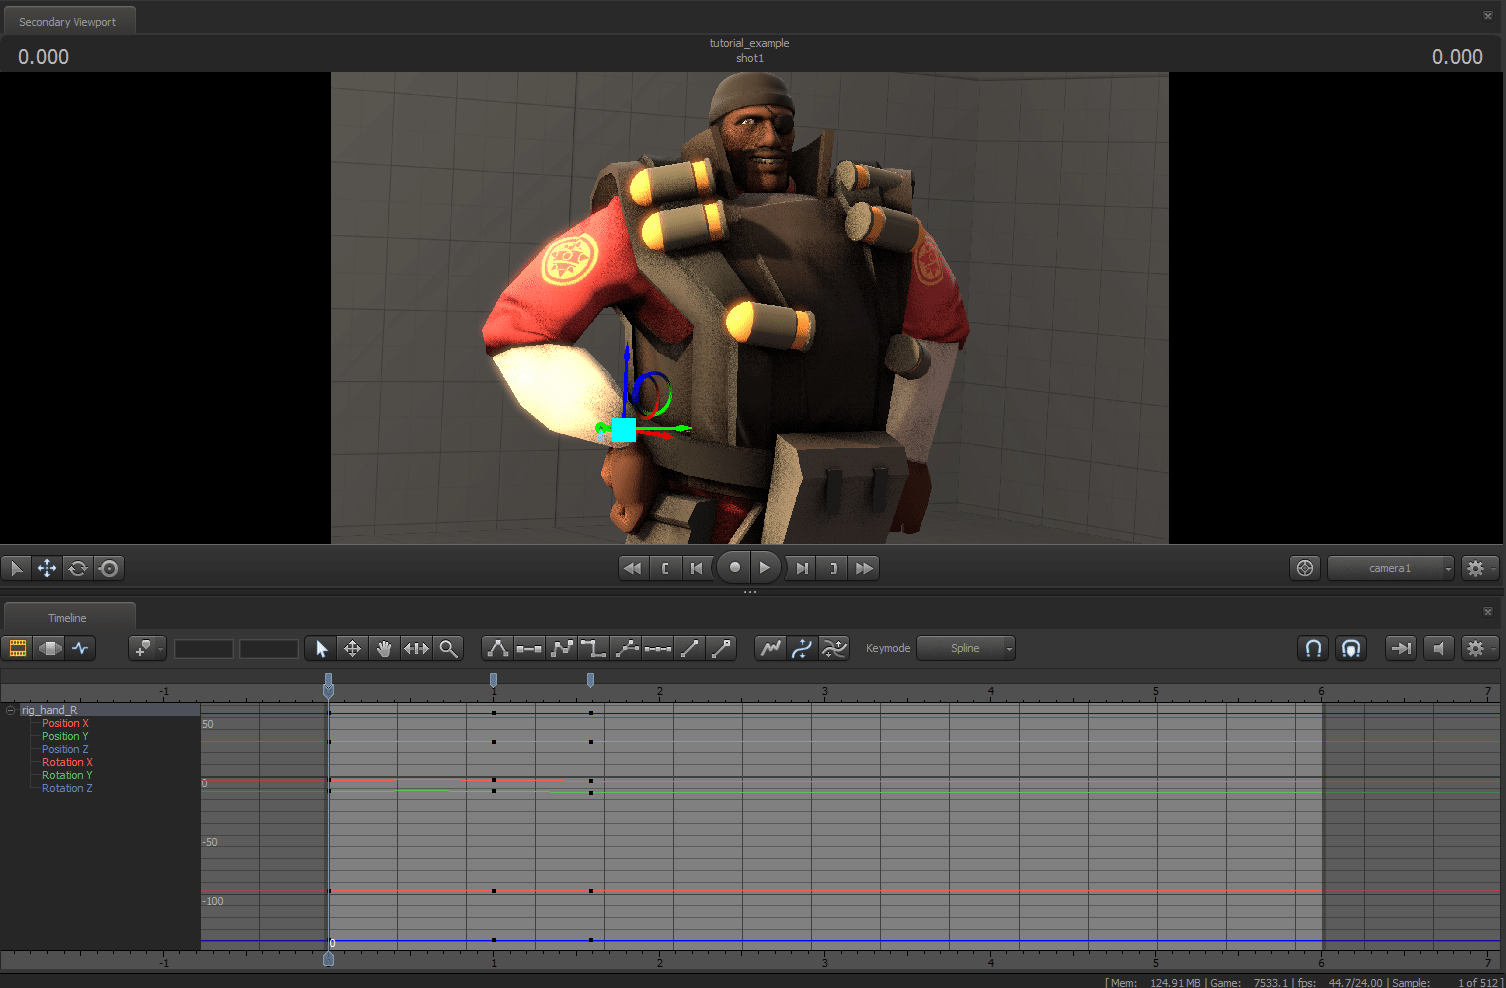
To start the motion editor, click the middle button on the editor select, on the left just above the timeline.
You may have noticed when posing your model in the motion editor that whenever you move a bone, the green region will then have turned orange. This signifies that the animation changes are in an "unsaved" state. In this state, you can do one of two things: 1. Press enter to apply the changes and have them baked onto the timeline. Or 2. Press Escape (Esc) to cancel the changes in the event that you make a mistake. These two options can only be done while the region is orange.
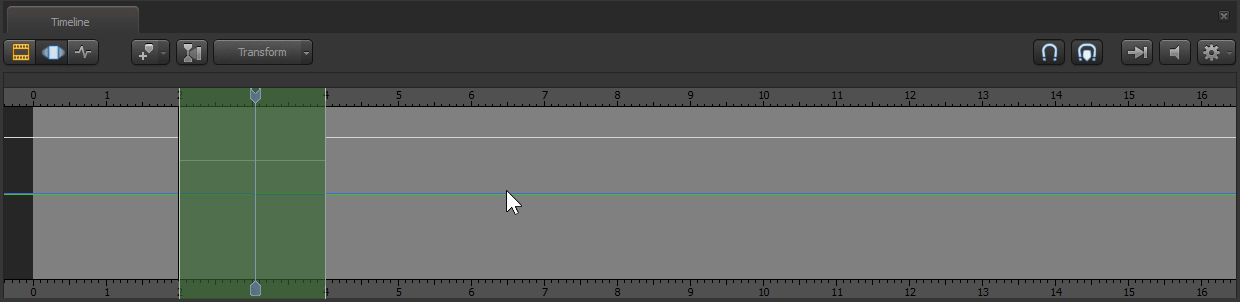
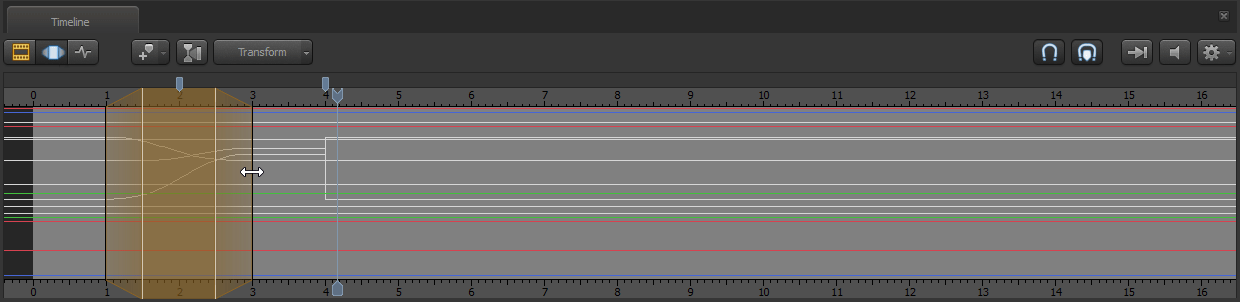
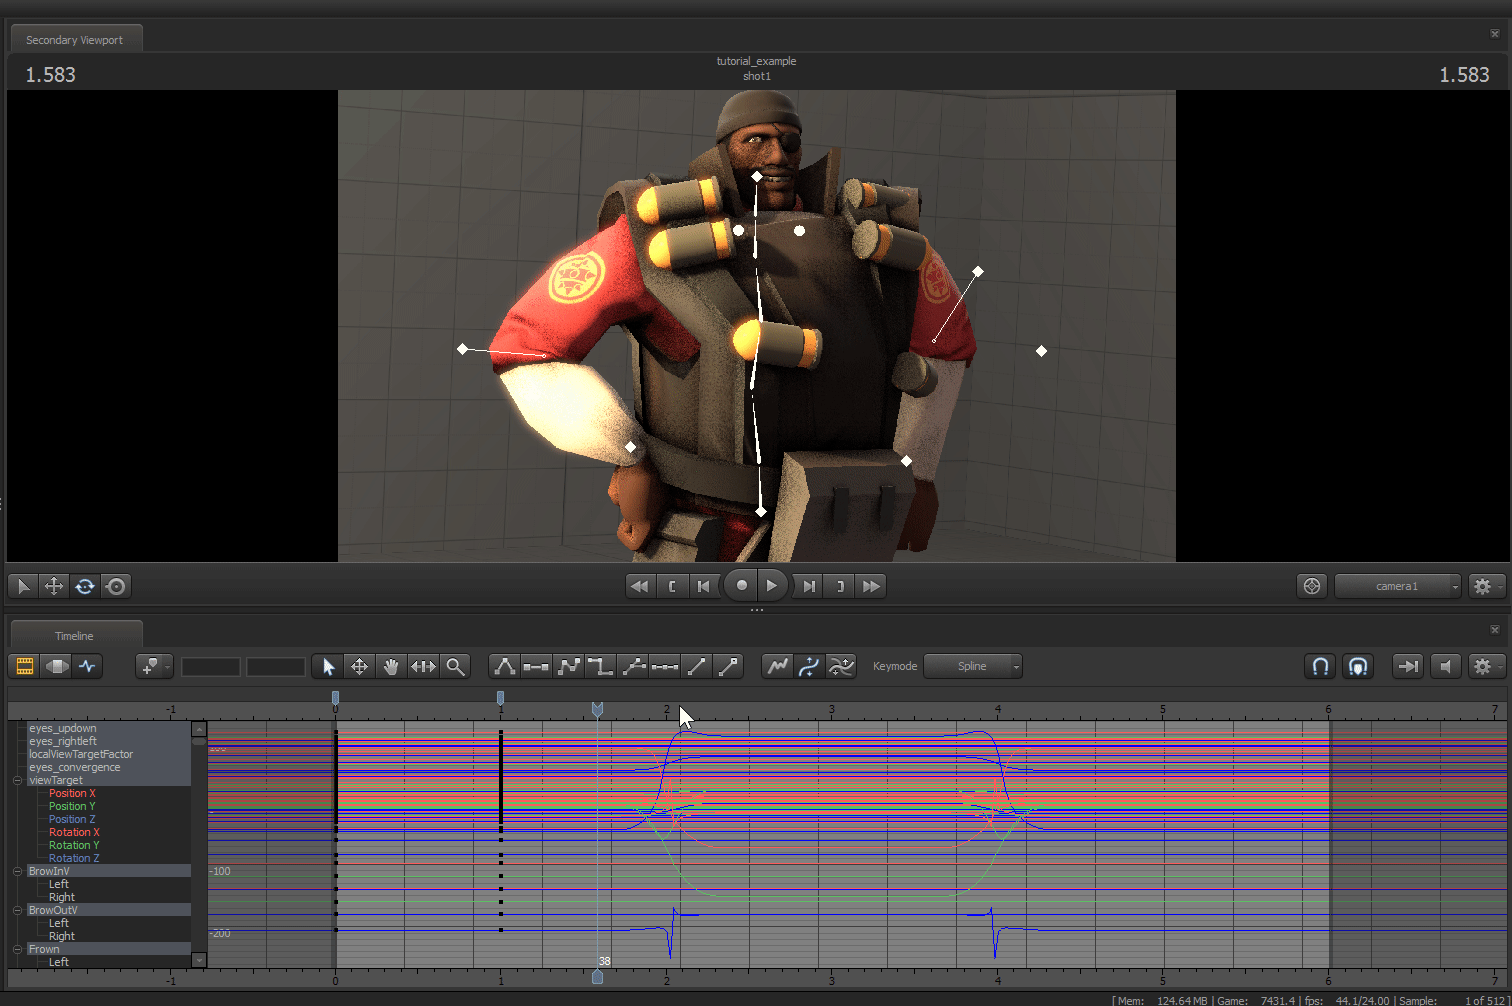
Now that we know the basics of how the Motion Editor works, time to get into the advanced stuff. Look to the very left or right of the timeline. You'll see small arrows that point in that direction.
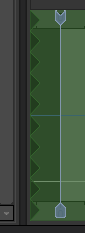
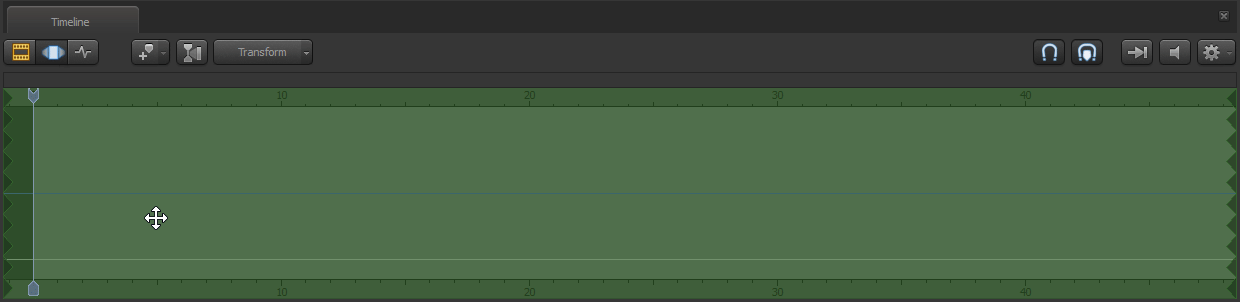
These arrows indicate that the region is going continuously in one direction, depending on which side has the arrows. If you hover the mouse over that region, you can grab the edge and drag it wherever we want. This is how we start preparing for motion-editor animation. Now that you know how to edit the size of the region, change it and place it anywhere on your timeline, preferably within the first 5 seconds of the clip.
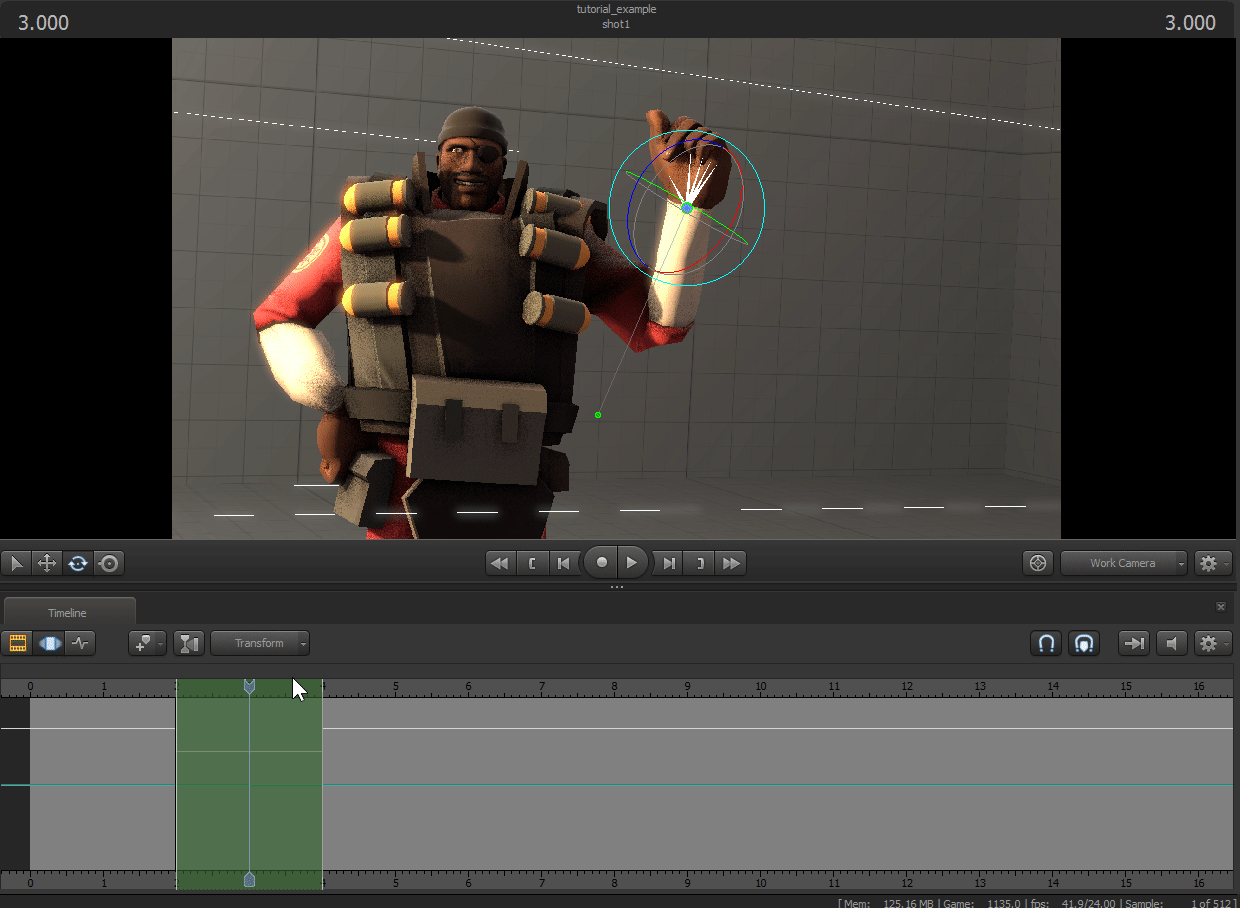
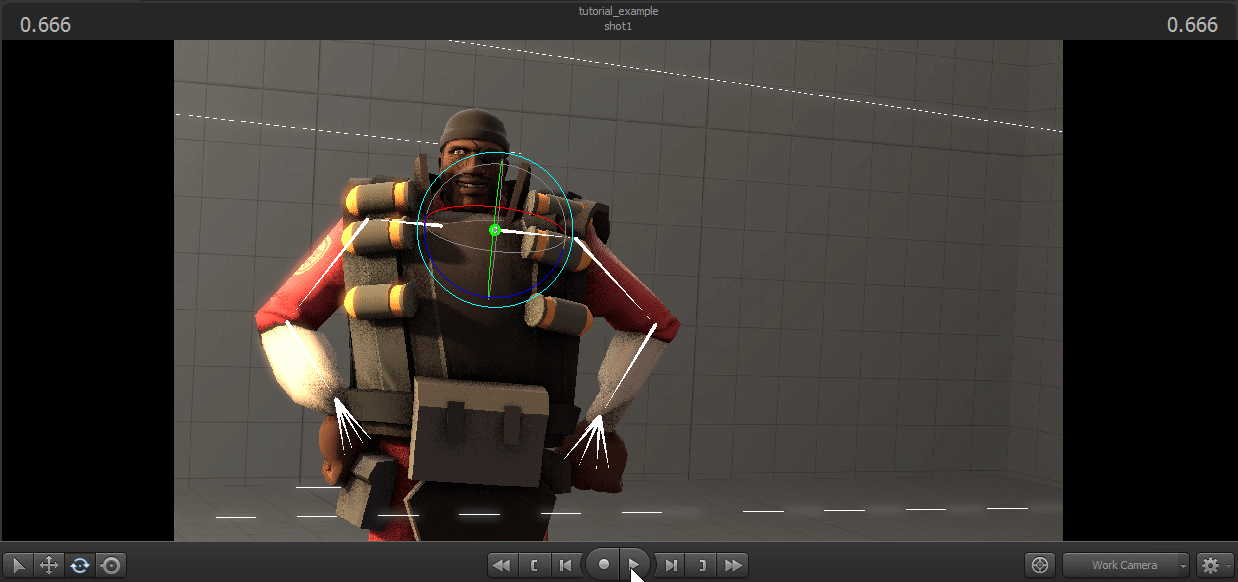
Now that we have our sized region in place, place your playerhead over that region so that you can see your changes at all times. Now take your TF2 model that you posed in lesson 1 and give it a brand new pose in this zone of time.
With your new pose made, time to make it animate! For my example, I had my character start a wave position, but any pose that you made will work.
Mark the edges of your time selection by right clicking and selecting "mark time selection edges." Now drag your region over one of the marks as shown below

Now drag your mouse over the region, hold shift, and scroll up.
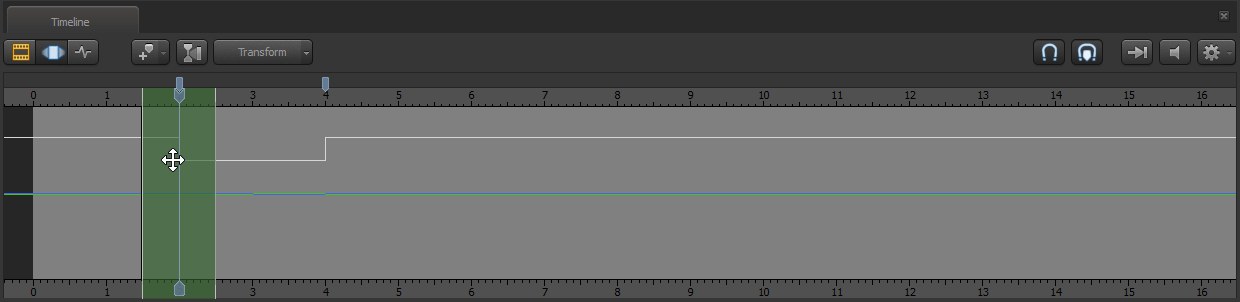
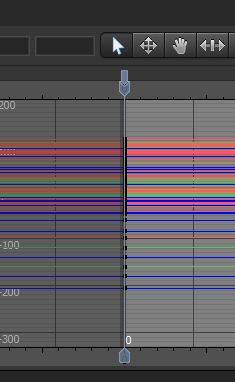
You will now see new parts on the region. These are the transition regions, and will be used to smoothly go from one pose to another. To do this, we need to refer to this window, next to the viewport
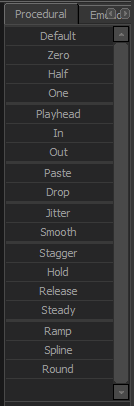
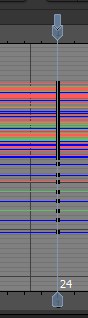
All of these sliders have different effects, but all can apply transitions between poses. However, we only need to use the "Round" slider at the bottom. Now that we have the region ready with the transition ramps (as I like to call them), slide the Round slider all the way to the right.
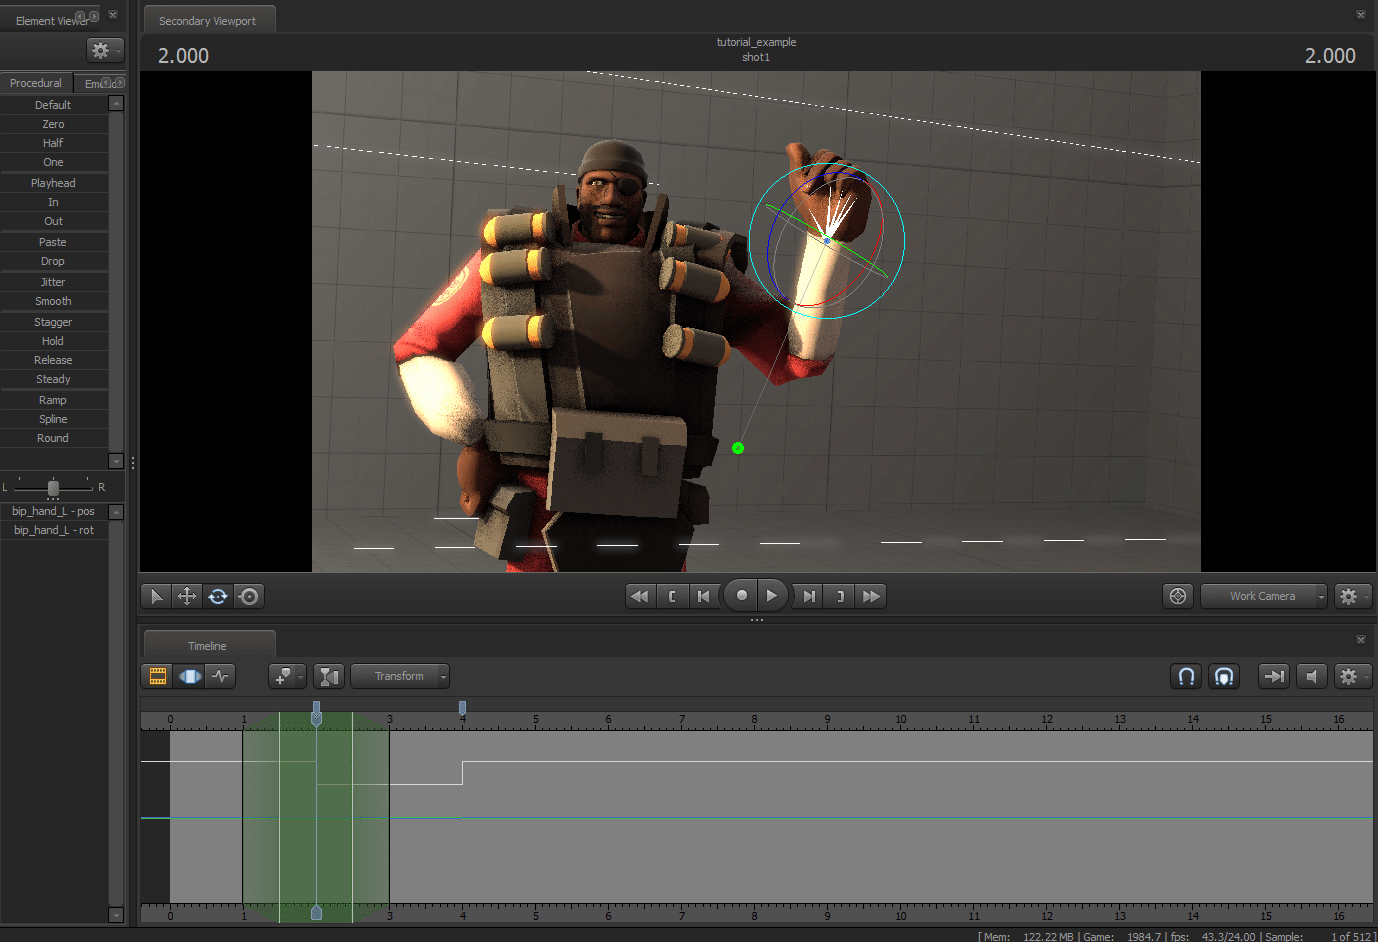
You will now notice that the arm in my example smoothly rolls up into its waving position, without a static teleport. Though you may also see that the arm moves rather slowly.
We can fix this very easily. notice how I didn't make the region green after using the round preset. This is because while the region is orange, we can freely adjust the curve without damaging all of the animation. Just drag any of the edges on the region to change the speed of that chunk of time.
After all that, and after repeating the process with the second marker, this should be your final result:
Now, it does look rough, but no up and coming animator should expect to be of Pixar quality right away. Like anything else, animation takes a lot of time and patience to be really good at it, as well as a lot of personal experimentation; don't be afraid to play around with everything, see what they do, and try to use those in your animations.
That about does it for animation with the motion editor. Scroll down to see the tutorial for the Graph Editor, or click here to move on to rendering
The process of using the graph editor is not as complicated as the motion editor, making it a good starting point for newer animators
First, open the graph editor using the button above the timeline.
After that, select your model in the animation set editor to select all bones, then go to the timeline, go to the first frame of the clip, and hit M
This saves the current pose of the model into the marker. Now that we have the pose saved, move a few seconds forward and hit M again. This is where the motion will start.
Now that you have a starting point, move the playhead anywhere in front of the motion-start marker (Preferably at least one second ahead to see how the motion looks) and give your model a new pose. Doesn't matter what it is.
You may have noticed as you were posing your model that a new marker would be placed every time you moved a bone. This means that the position for the bone is being saved on the point in time. Once you finish posing your model, playback the sequence to see what you get.
And that's it! No extra steps are required for using the graph editor, as it does the pose-to-pose transitions for you. Click here to move on to the last step: rendering.