Welcome to section two of the SFM visual how-to! This section will focus on lighting.
By this point, you have already loaded up a map, spawned a model, positioned it, gave it a cool expression, and gave it a cool pose to go with it.
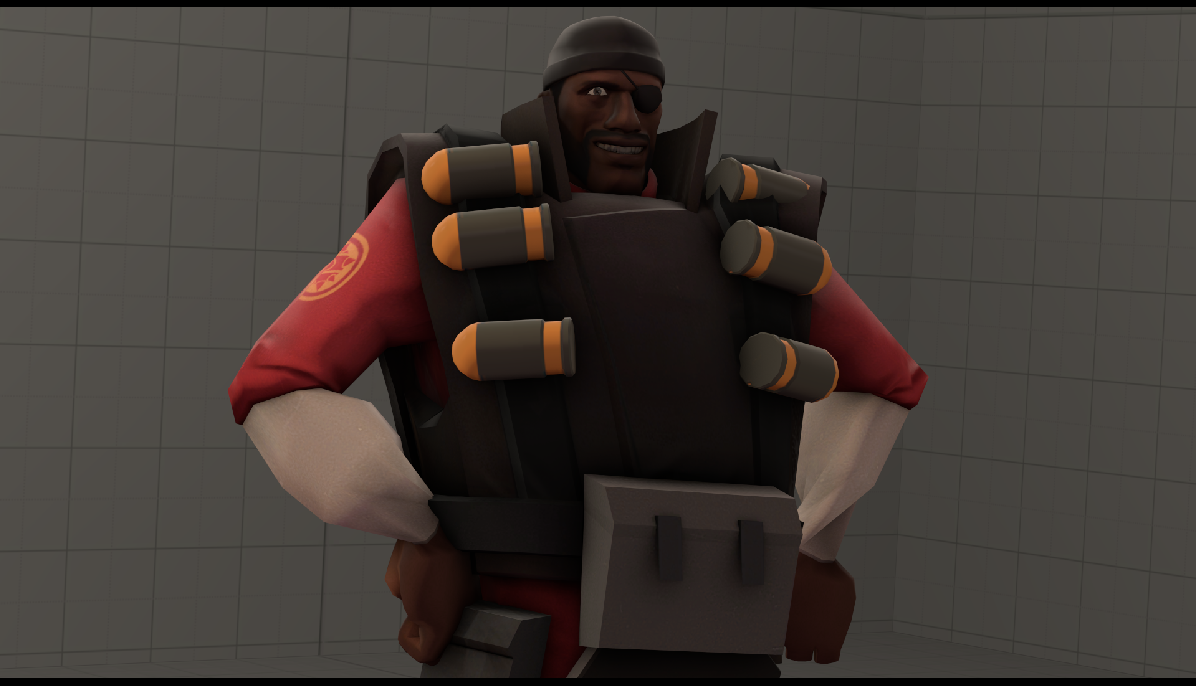
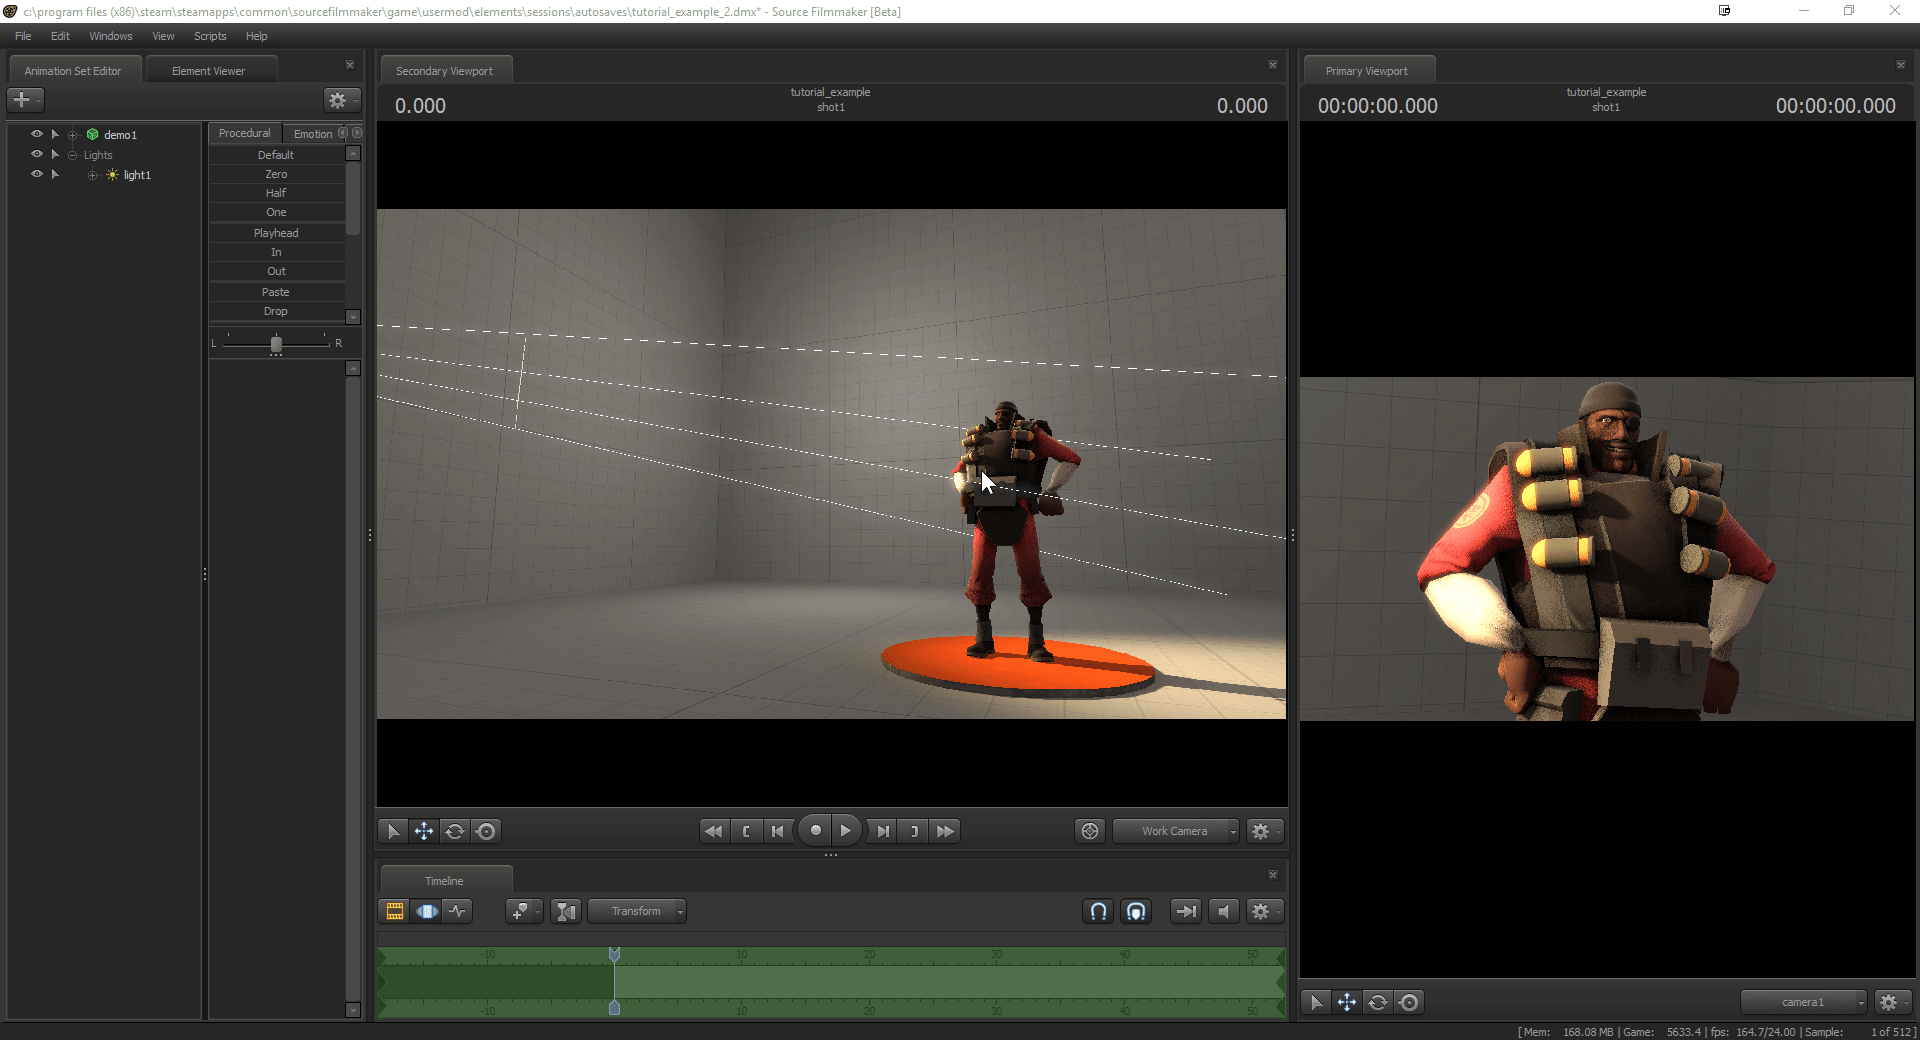
However, the more I look at it...the image so far is looking rather bland. What could we possibly do to spruce it up? Hey, I know! We could add a bit of lighting to the scene! That should make this look great!
Setting up a light is a fairly basic process in SFM. To get started, go to your Animation Set Editor (the one we used for spawning our model). Hit the + symbol or right click on the box as you learned, and now select "Creat Animation Set for New Light"
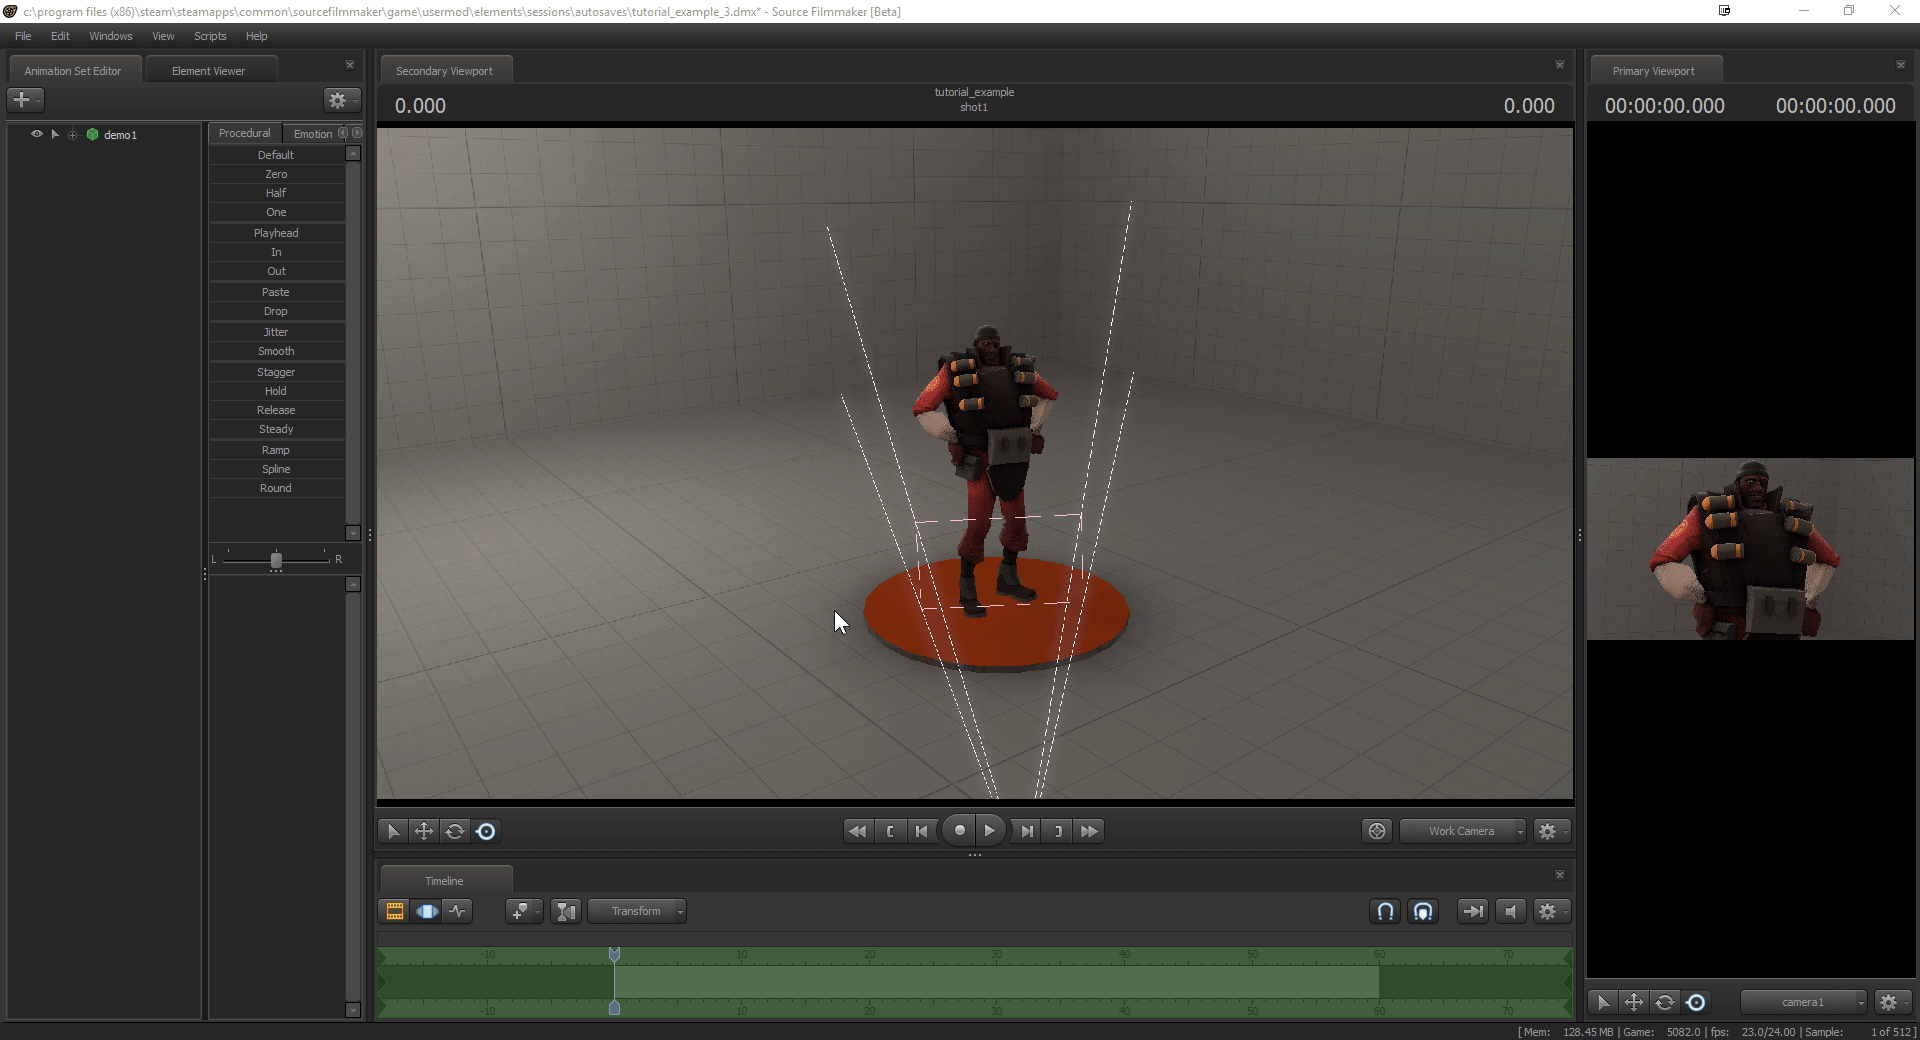
Rather than a window popping up, the light will spawn right away in position of the camera with default settings (this also applies to rotation, so be aware of that if your camera is tilted in some way).
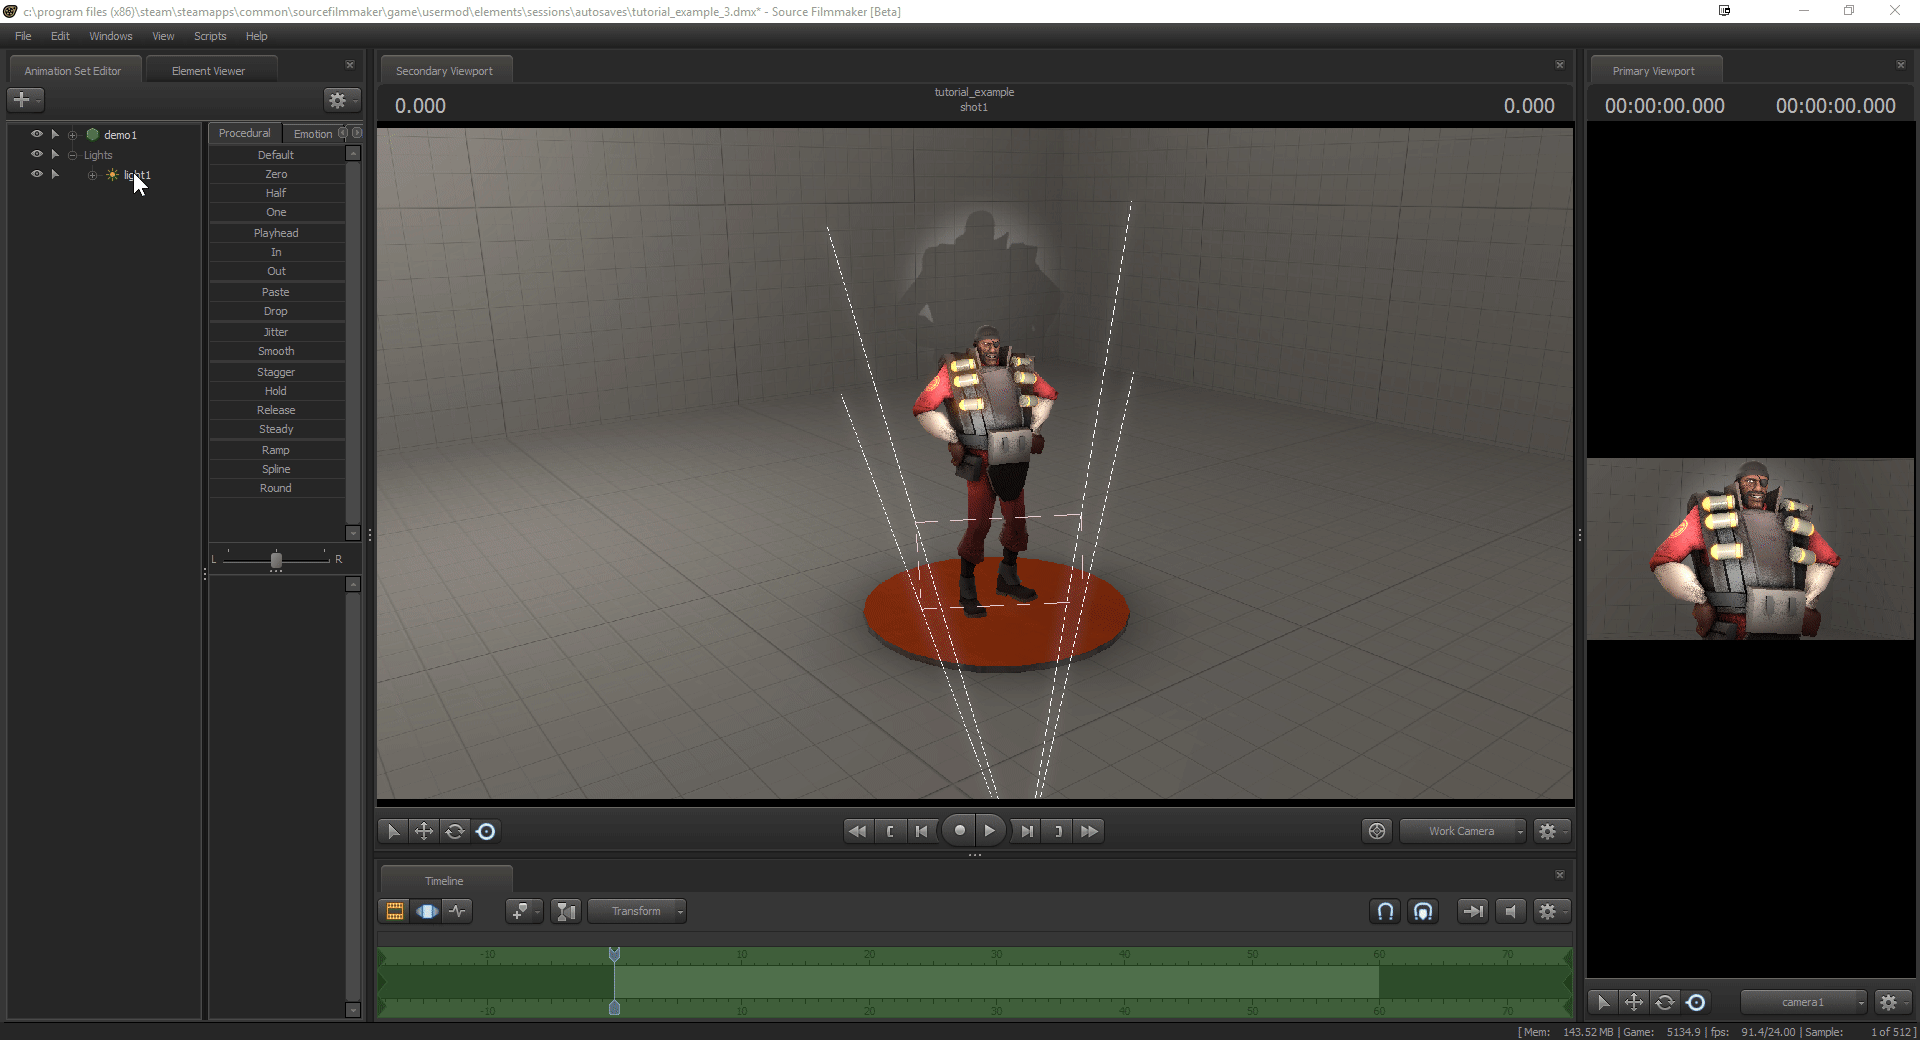
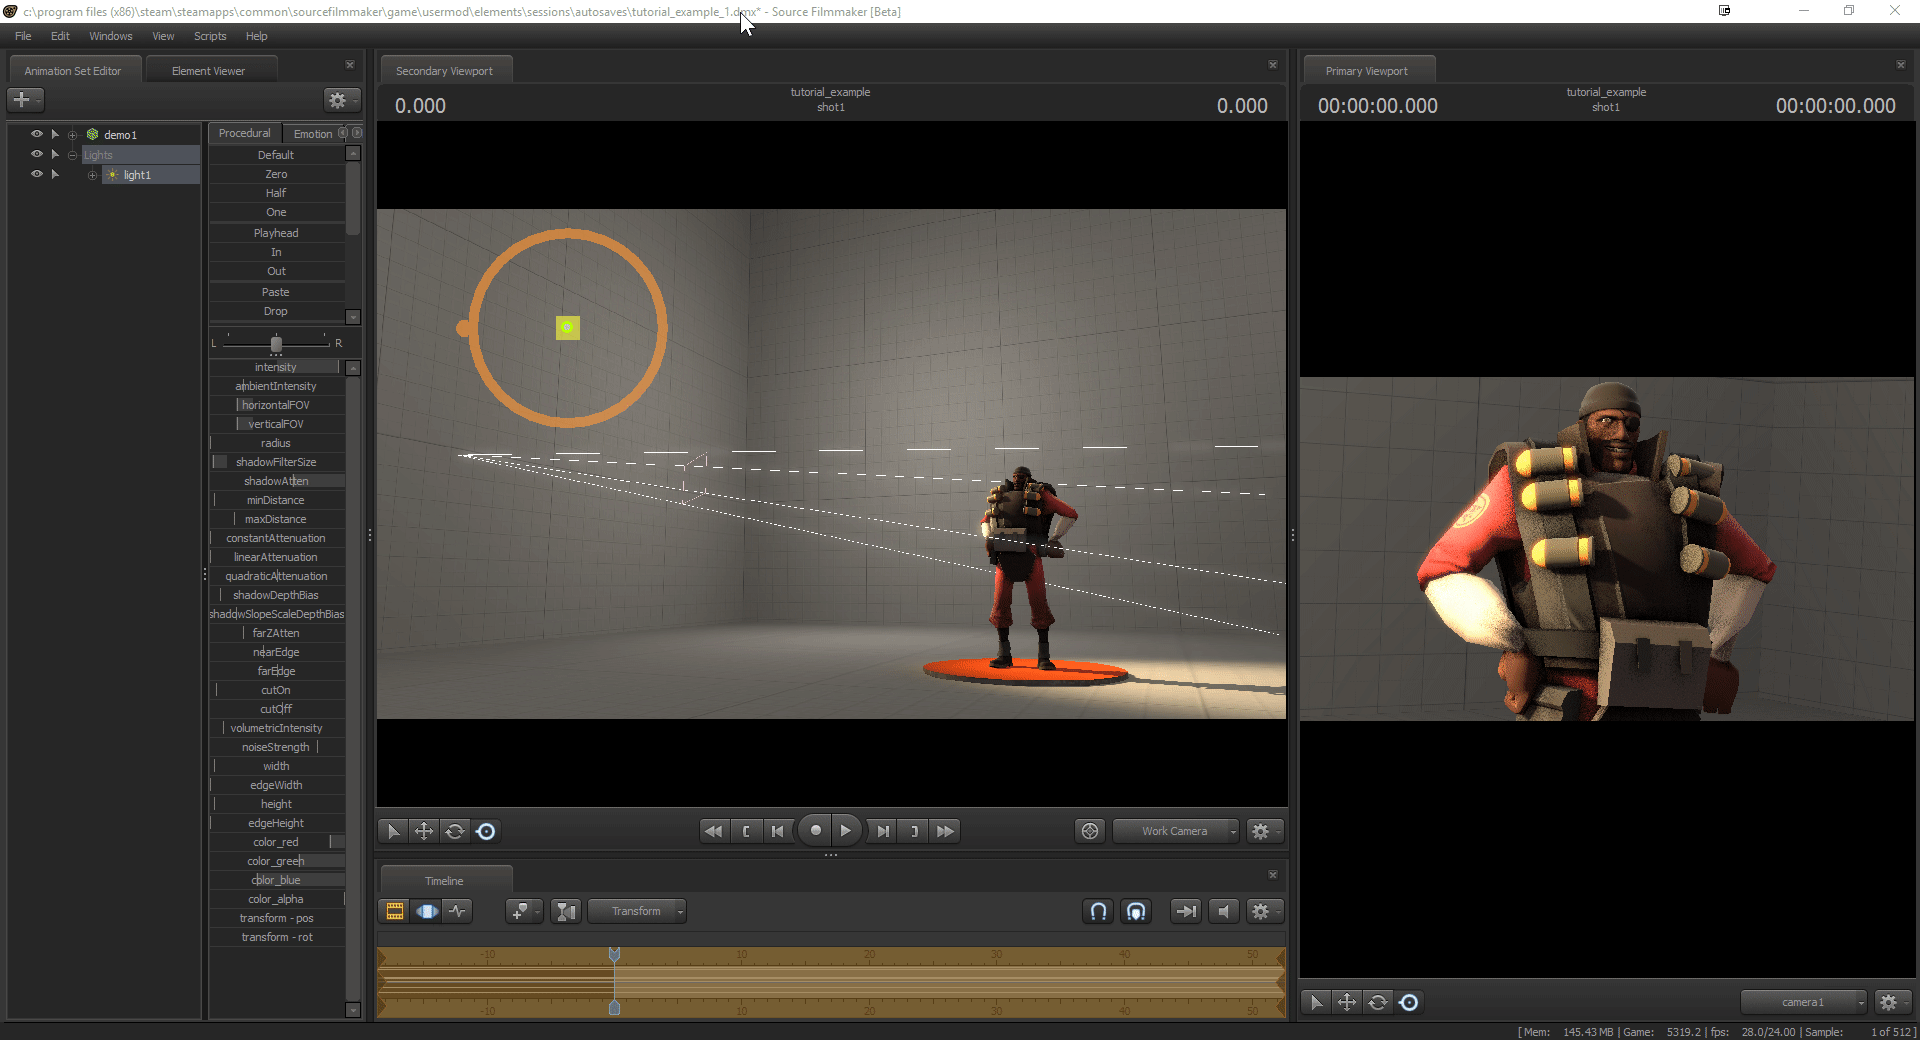
There are two ways to edit light position. The first is by using the posing ui that you grew familiar with during the posing lesson. The second way is if you click and drag the light's animation set and drop it over the main viewport, you can control the light like you would a camera. This saves a lot of time in getting the light in the right position.
Now that you have your light in position, we now need to edit the light to give our scene some extra color and quality. You'll notice a list of sliders similar to face posing sliders. There are quite a few options available, each with varying effects, but you only to focus on a few of them:
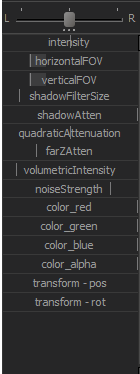
These options are the most important, as they contribute to making the light quality better or worse. Play around with these options until you get something you like.
Now that you know the basics of light posing and lighting control, I'll breifly talk about two additional settings that lights have. If you right click your light, you'll notice two options: Enable Volumetrics, and Disable Shadows
Disable Shadows is self explanatory. By default, all lights that you spawn cast shadows on anything in its range. Clicking this option disables that shading, making the light useful for three-point lighting or subtle interior lighting.
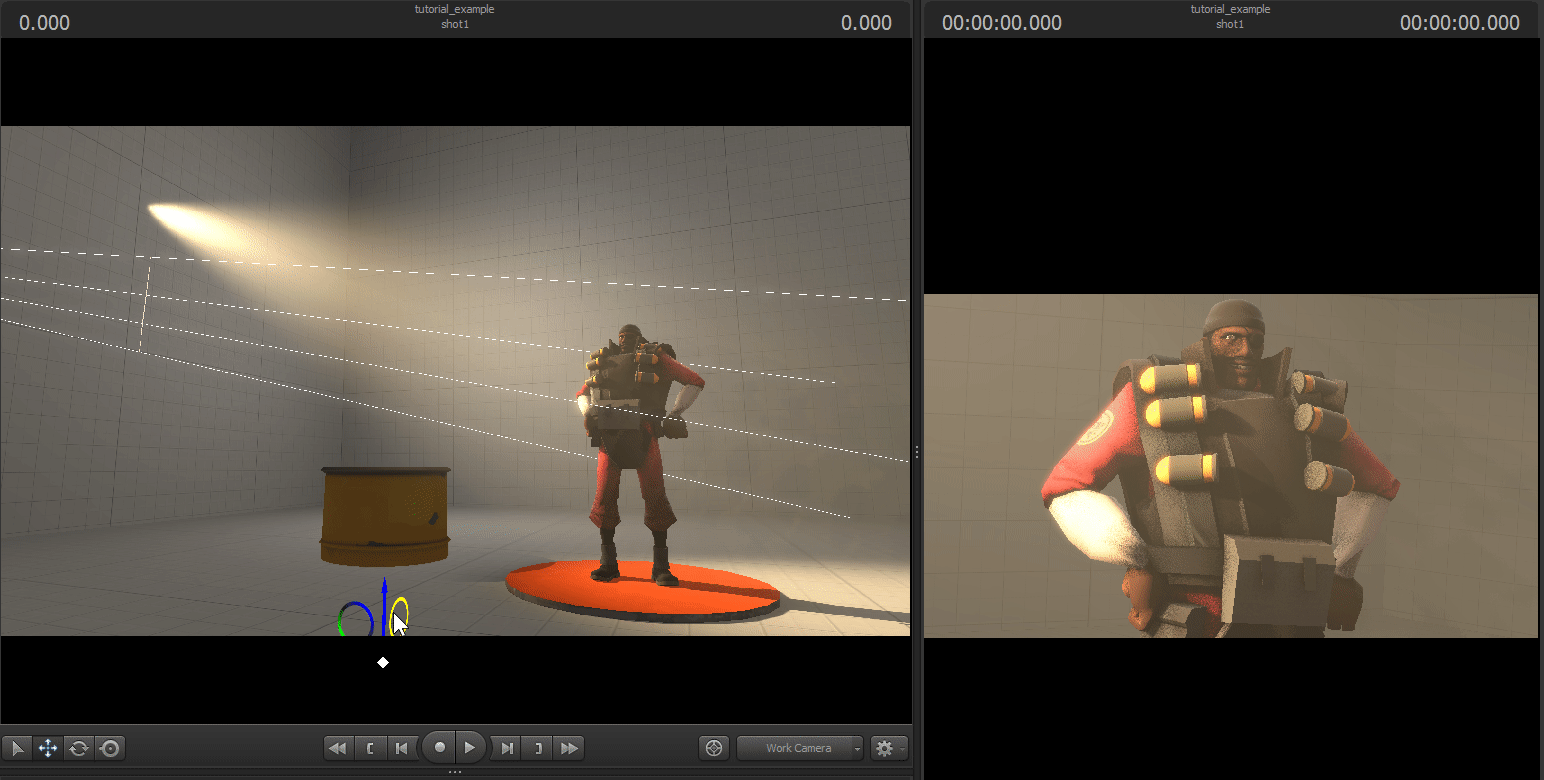
Enable Volumetrics is a bit more complex. Those that have played games on PC may have heard of the term "Godrays." Godrays are the result of sunlight going through clouds or in-between objects. Volumetric lighting, when enabled, creates these godrays on your light. These godrays also work with the light's shading mechanics, meaning they react to being positioned in front of models. You are also able to control the intensity of the godrays themselves using its dedicated options:
That concludes the basics of lighting! Click here to go directly to the next lesson!