By this point, not only have you posed a model on a map of your choice, but you've also given it some good lighting. If you're intending to only make a poster, this would be when you start rendering the image. Click here to skip to the rendering lesson to learn about rendering out your poster.
It is now time to get started on the more complex part of this tutorial: animation. Before we get into the nitty gritty however, it's best that you learn about one element that you'll likely use a lot in the animation process: IK rigs.
IK rigs are commonly used by animators to save a large chunk of time on animating; not only does it cut the amount of bones on the model by half, but it also makes the model responsive to movement. I'll explain more on that when that step comes, but for now, lets focus on actually applying an IK rig.
Applying an IK rig is a fairly simple process. Right click the animation set of the model you want to apply a rig to, and you should see an option called "Apply Rig." Hovering your mouse over this will open up an extra dialogue box that shows a list of IK-rigs that are found SFM's default folder. Among these you should see "rig_biped_simple." Since we should be using the TF2 models at this point, click on this script and the following should happen to your model:
Our model is now ready for IK animating. Let's test this out. Hold Ctrl and select one of the hand bones. Use the position tool to move the hand around. Notice anything different about how the hand moves?
Normally, trying to move the hand would result in it stretching out away from the arm. Now that the IK rig is applied, the entire arm moves in response to where the hand moves. This also works the spine and legs. This new, responsive skeleton allows for much easier animation, as you now only need to move a single bone to move an entire limb.
That said, don't think that you can get away with only moving the hands and feet around. You may notice what appear to be strings on the knees and elbows of each respective limb.

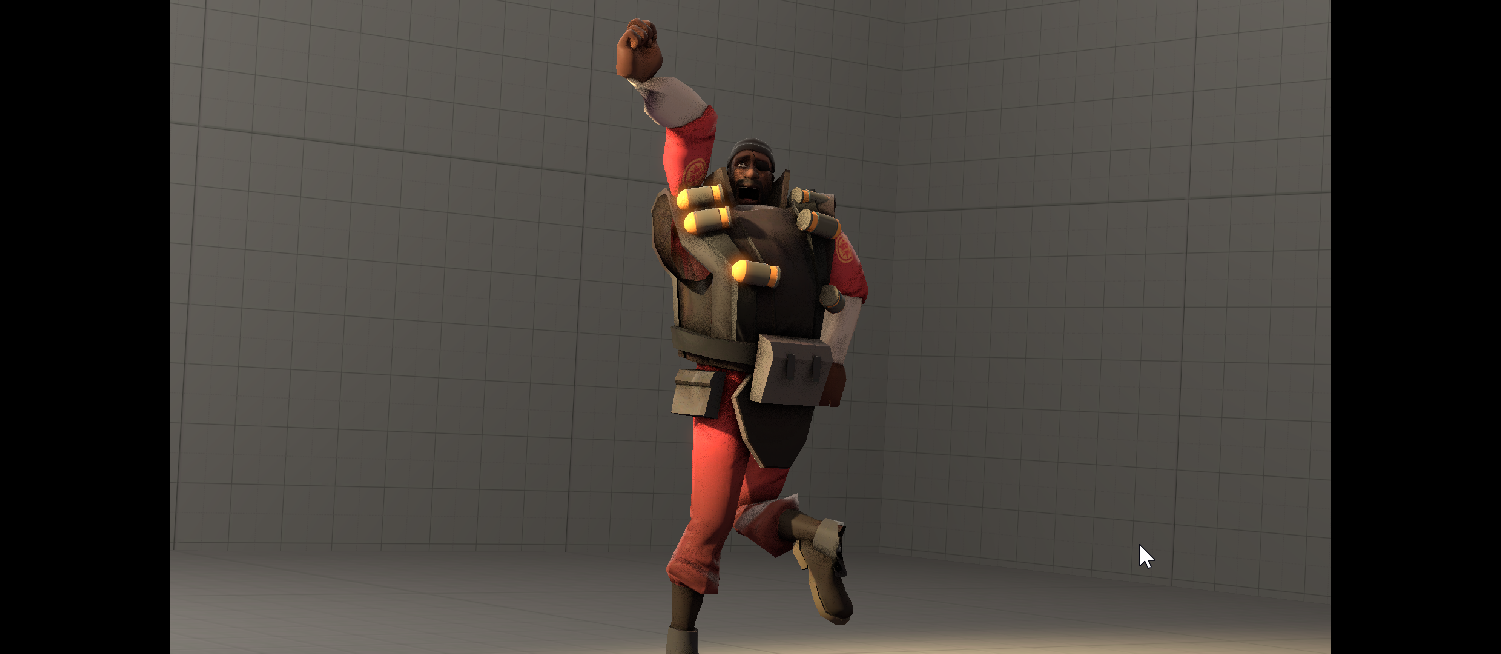
These strings control the direction the knees and elbows point to. It is necessary to move these strings into proper position. Otherwise, something that you intended to look like this:

Will look more like this:
Now that we know how to use IK rigs and apply them, we can safely transition over to animation. Click here to move on to animation.